jpinsider
  • Feed
  • travel & culture
  • Beauty
  • Recipes
    • Shop Japanese Groceries
  • About Me

Recipe: Salmon cooked in foil. No mess, no oil, veggie paradise.

4/7/2013

0 Comments

 
Picture
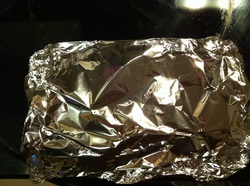
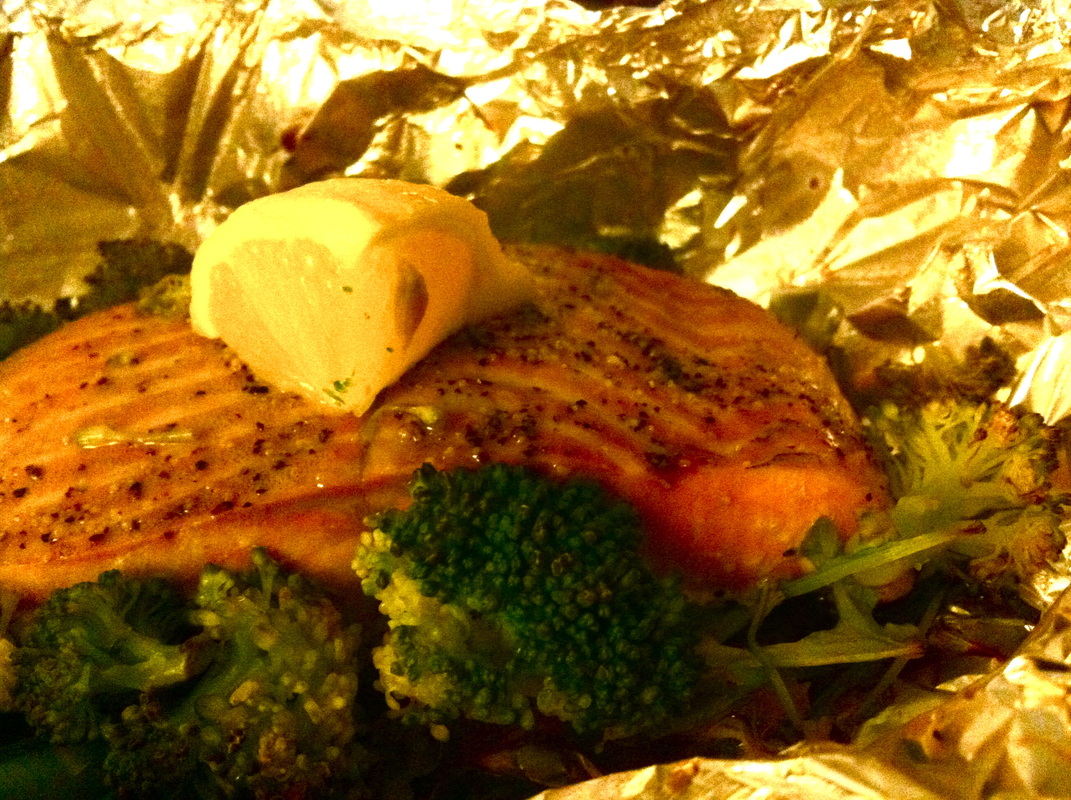
My favourite fish to cook is probably salmon. I especially love to cook it in foil! It's mess free and best of all, I can throw in all the veggies I want. I've posted a recipe for this in the past using miso-mayo as a sauce on top. 

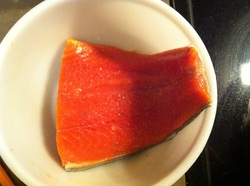
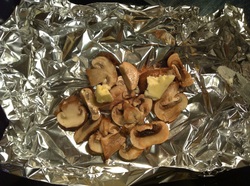
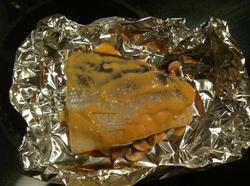
Today, I layered chopped raw onions, raw arugula, raw broccoli then the raw salmon (salt & peppered) and put a tablespoon of Japanese soy sauce and a tiny bit of butter on top. Popped it in a 470F oven for 15 minutes. EASY and DELICIOUS. Fresh squeeze of lemon prior to eating too :)
0 Comments

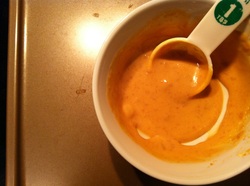
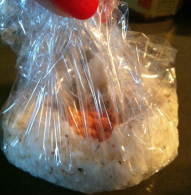
Recipe: Salmon baked in foil with miso-mayo sauce on top.  Cooking salmon has never been easier!

11/4/2012

0 Comments

 
Picture
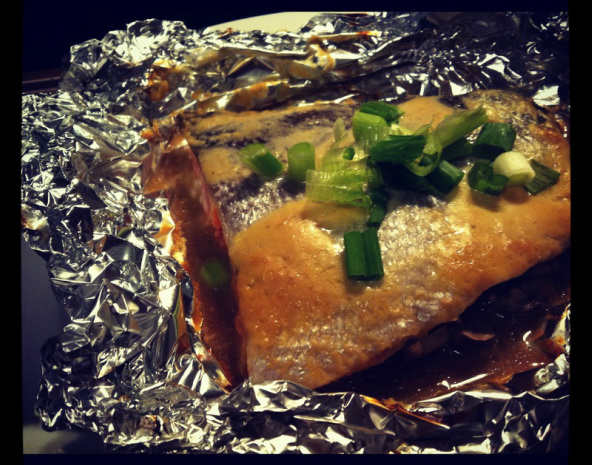
Number of steps:  6
Time taken: Prep for 5 min, in the oven for 15-20min.
Approx. 350kcal per serving

About This Dish:
One great thing about this dish is that it is mess-free. All the cooking is done in the foil in your oven! All you have to do is throw in the salmon and your favourite veggies and drizzle the heavenly miso-mayo sauce on top. Salmon is affordable in Japan  and is loved by many. Many Japanese people cook salmon using their own fish grill at home but of course that could get boring at times. To be creative and different this method of cooking is used! 

What You Need:
(Makes 2 serving)
  • 2 salmon fillets (Mine weighed a total of 0.72lb)
  • Mushrooms 
  • Veggies (However much you want as well, I recommend onions, asparagus, spinach, spring onions...) 
  • 1.5 tbsp Japanese Kewpie Mayo (Available at Shaws, Japanese market, Amazon)
  • 2 tsp Japanese Miso (Available at Japanese market, Amazon)
  • 2 tsp mirin (Available at Shaws, Japanese market, Amazon)
  • Salt and pepper
  • (Optional) Japanese sake, butter
Picture
1. Sprinkle some salt and pepper on the salmon and leave it out on a plate for a couple of minutes. Preheat the oven on 400F-420F.


Picture
4. Please keep in mind that I didn't cook any vegetables this day. On a fairly large piece of foil, start by placing your veggies and mushrooms with some butter (if you want).

Picture
2. Meanwhile, place the mushrooms and veggies in the microwave for 1-2 minutes. This will release the water out of them and prevent them from being soggy when put into the oven with the salmon.

Picture
5. On top of your veggies and mushrooms, place the salmon and drizzle the sauce over it.

Picture
3. While your veggies are in the microwave, make the sauce! Mix in the miso, mayo, mirin and stir it up. It's that easy! 


Picture
6. Close the foil up and place it in the oven for 15-20min. Serve with some great Japanese rice! 

0 Comments

Recipe: Simple yet irresistible salmon onigiri! Japanese rice balls are healthy, filling and a great way to start your day. 

10/14/2012

3 Comments

 
Picture
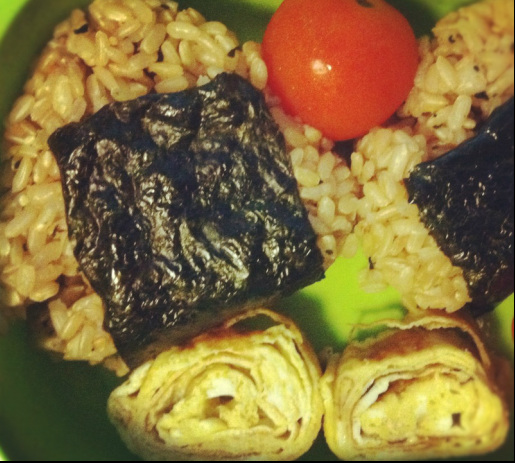
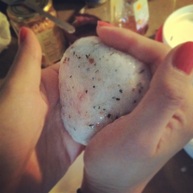
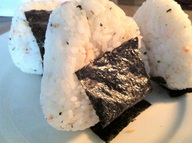
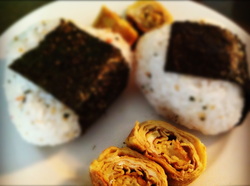
Number of steps:  5
Time taken: Less than 10 minutes
Aprrox. 70-140 kcal per onigiri depending on how large you make it.

About This Dish:
History
Japanese rice balls which are called "onigiris" has been and still is a very popular staple food. Every convenience store has them for $1-$1.50 each while there are more premium onigiri stores which sell it for more than $4 per onigiri. The history of onigiri goes back to the Yayoi period (300BC-300AD)! It became a staple food after the war where a majority of the Japanese population started to eat it as a meal though it was only eaten by warriors before. 

Importance
There are so many ways of making onigiris. Extreme people treat it as a piece of art (for example, caring about the way the rice is cooked, which salt to use and to how the rice it touched) but this recipe is for people who eat onigiris casually. The most important thing to remember when making any type of onigiri is to put love and warmth into it when placing the rice into your hands. Onigiri is a comfort food in Japan; it has a sentimental and nostalgic element to it, even reminding many of their mothers or grandmothers. 

What You Need:
(for 4-5 medium sized onigiris)
  • 3 cups of cooked rice (I like using brown rice, but any rice is fine!)
  • A couple tea spoons of salmon flakes (you can buy them at a Japanese supermarket or easily make it yourself using this recipe)
  • Couple sheets of dry seaweed
  • Salt
  • (Optional) Sesame 

Related recipes: Japanese tamagoyaki (sweet omelettes), salmon flakes
Picture
1. Once your rice is cooked, mix in a little bit of salt! We don't want the rice to be too salty, but keep tasting to reach your preference. I've added sesame seeds and little pieces of seaweed into my rice above.

Picture


4. This is where the love comes in. Start shaping up the onigiri by simply cupping it into your hands. A triangular shape is traditional, but be creative if you like :)

Picture
2. Get a piece of plastic wrap and place a scoop of rice onto it. Flatten it out and create a little concave in the center for the salmon flakes!


Picture
5. Wrap it up with some seaweed and you are done! Put it in the freezer as it is (in the plastic wrap) to keep it delicious and fresh if you are making this ahead of time. Simply microwave the onigiri as is when you are ready to eat it.

Picture
3. Enclose the salmon flakes by holding the sides of the plastic wrap. Twist and close up the plastic.


Picture
Recommended: Eat it with a side of Japanese egg omelettes! The recipe is here!

3 Comments

Recipe: Salmon flakes used for Japanese rice balls. Yes, you can make it yourself and it's VERY easy & affordable.

10/14/2012

2 Comments

 
Picture
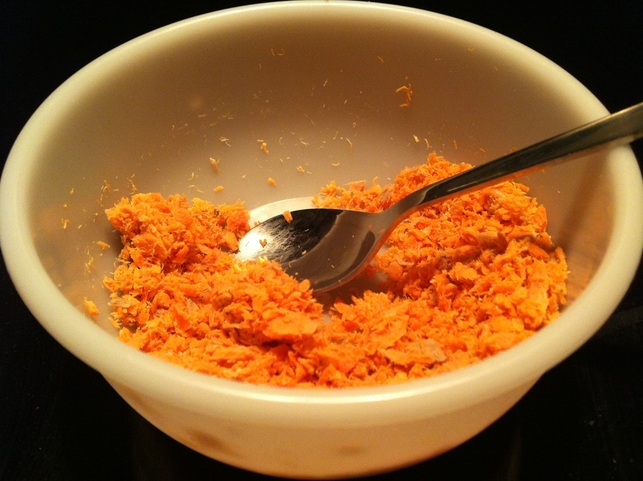
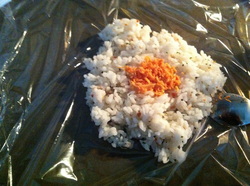
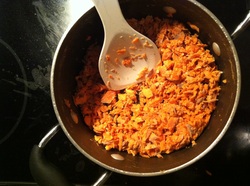
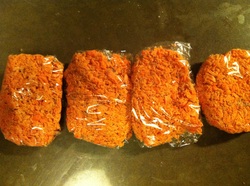
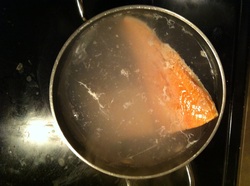
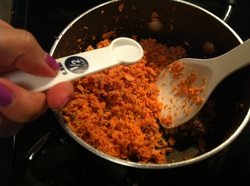
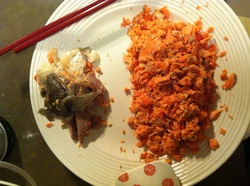
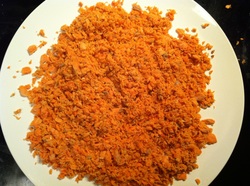
Number of steps: 6
Time taken: 30 min

About This Dish:
You love Japanese rice balls (a.k.a. Onigiri) but are tired of going to a Japanese supermarket to buy the delicious salmon flakes...That was my problem. Thankfully, those salmon flakes in the rice balls are super easy to make! You can store them up for up to 2 weeks in the fridge and longer if you freeze them up! Perfect! 

What You Need:
  • A little more than 0.5lb of salmon! (I used the frozen salmon sold at Trader Joes)
  • Sake (Japanese rice wine) 1 tbsp
  • Salt 1/2 - 1 tsp
  • (Optional) Roasted sesame 1 tbsp
Picture
1. Here's what you need at a glance. I didn't use the sesame seeds. Make sure your salmon is defrosted if previously frozen.


Picture
4. Put the rest of the meat into a pan and start broiling it on low heat. Put it on heat for a couple of minutes to get rid of excess moisture.


Picture
7. Once the flakes are completely cooled down, you can wrap them up in plastic wrap and freeze them for long term storage. I usually freeze some and put the rest in a tupperware for the fridge. It'll last 2 weeks if you put them in the fridge!

Picture
2. Boil the salmon for 5 minutes until cooked.You can also grill it until cooked. Boiling is recommended as it is quick, clean and easy! 


Picture
5. Add the sake. Once the sake soaks into the meat add the salt. Taste it as you go. If you want more salt, add more. It all depends on your preference. Broil it on low heat until you get rid of the excess moisture.

Picture
3. Separate the skin and the meat of the salmon while breaking it up into small pieces. We only want the nice pink colored meat of the salmon! Throw out the skin and discolored meat.

Picture
6. Spread it out on a plate until it cools down and excess moisture is taken away even more. We want the meat to be as dry as possible.

2 Comments

    Subscribe via email

    ​Featured Fyuse:

    Popular Posts

    Picture
    Kinkakuji, Kyoto
    Picture
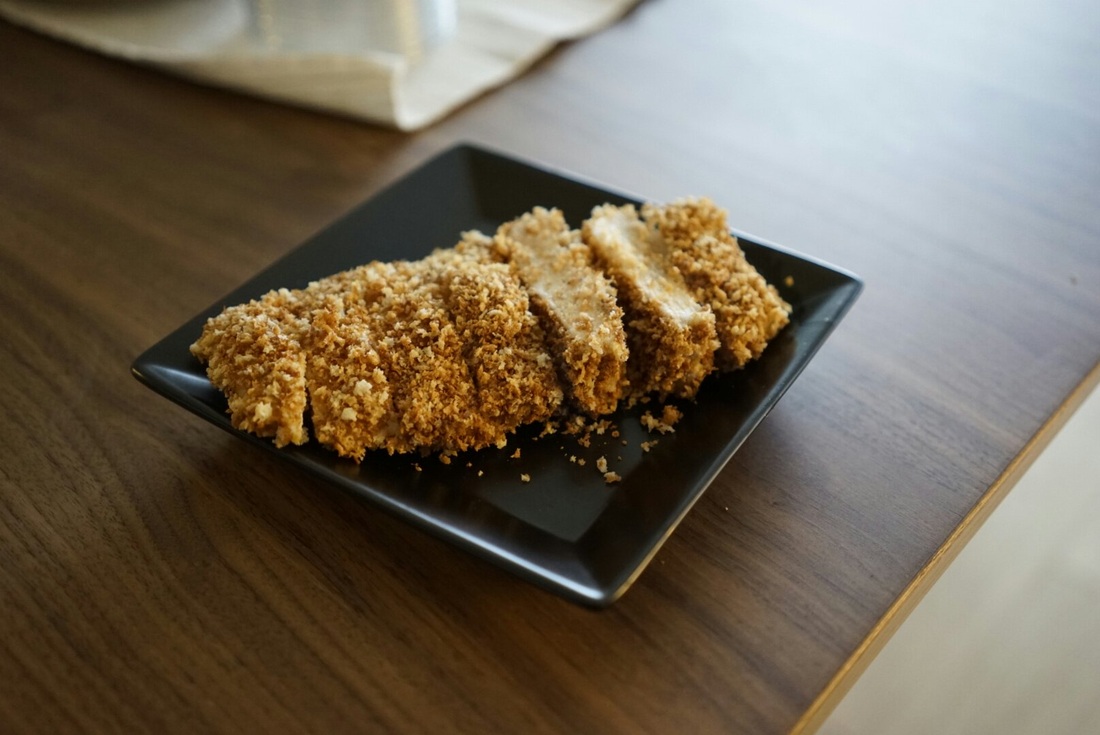
    Non-oil Chicken Katsu
    Picture
    Kawaii! Socks

    instagram: @jpinsider

    Categories

    All
    About Japan
    Appetizer
    Beef
    Chicken
    Dessert/sweets
    Dinner
    DIY
    Egg
    Japanese Breakfast
    Japanese Food
    Japanese Music
    Japanese Quality Series
    Japanese Recipes
    Lunch
    Matcha/green Tea
    Noodles
    Obento
    Pasta
    Pork
    Potato
    Rice
    Salmon
    San Francisco
    Sauce
    Savoury
    Seafood
    Side Dishes
    Tips/how To
    Tofu
    Traveling Japan
    Tuna
    Turkey
    Vegetables
    When In Tokyo
    Yokohama

Powered by Create your own unique website with customizable templates.
  • Feed
  • travel & culture
  • Beauty
  • Recipes
    • Shop Japanese Groceries
  • About Me