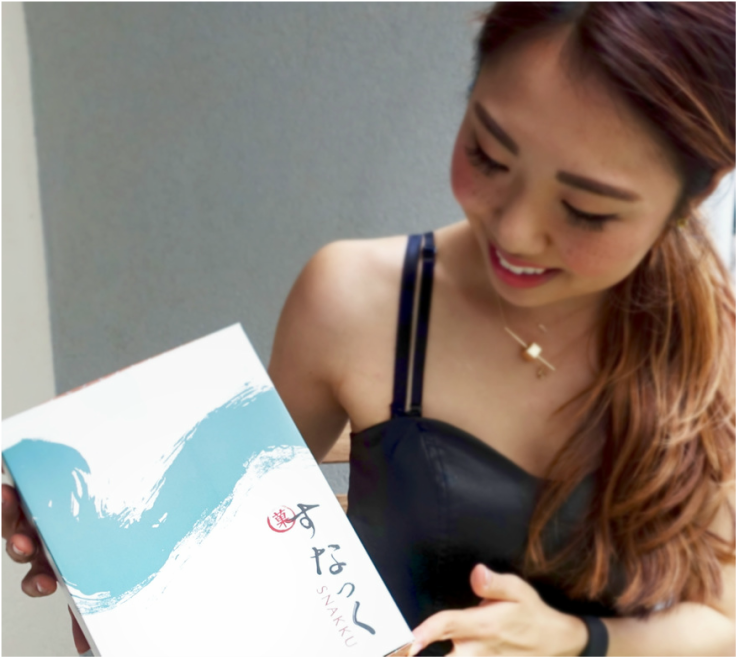
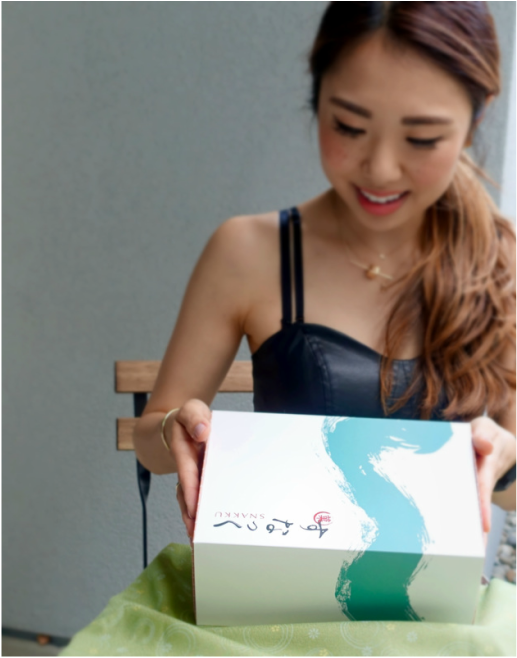
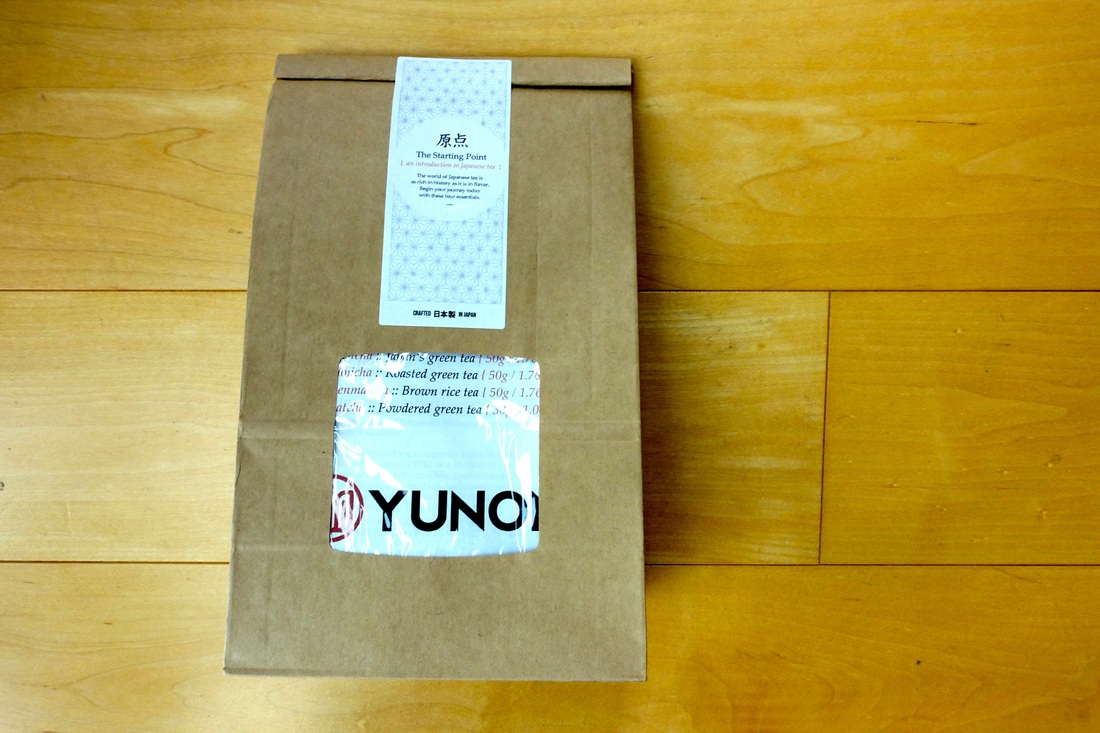
Authentic Japanese snacks delivered to your door! Snakku is a subscription service starting at $38.95.
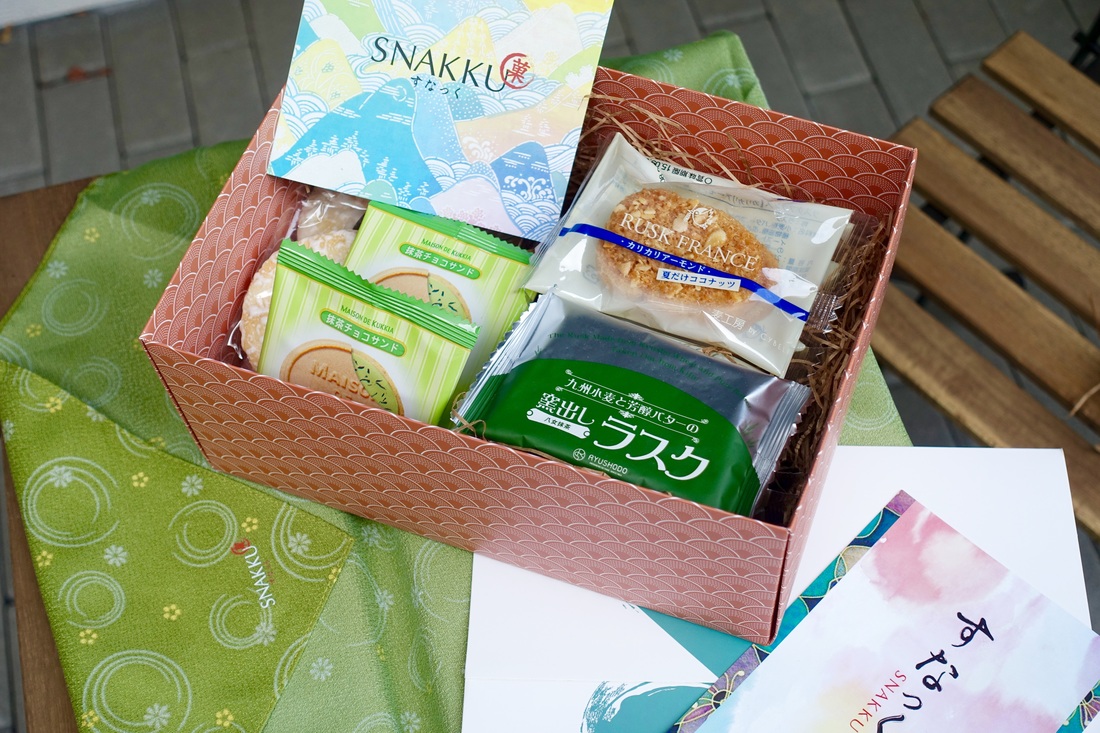
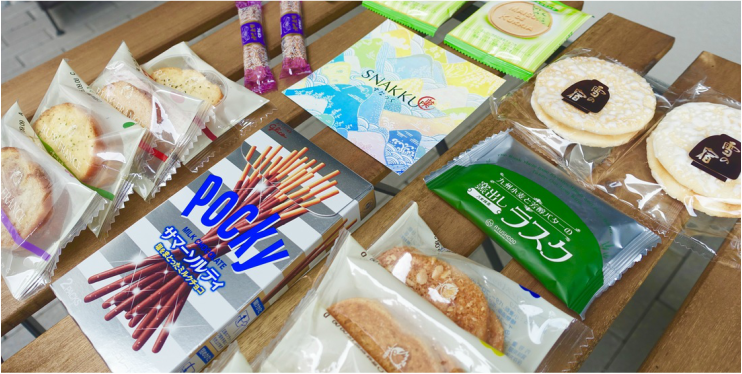
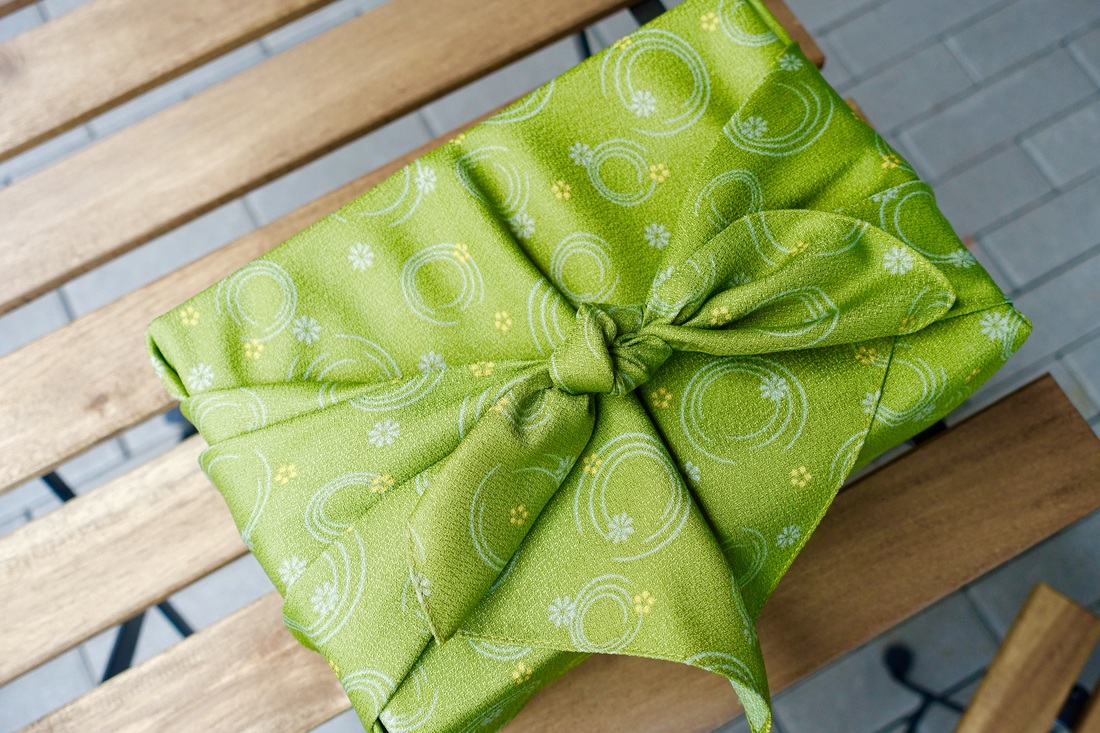
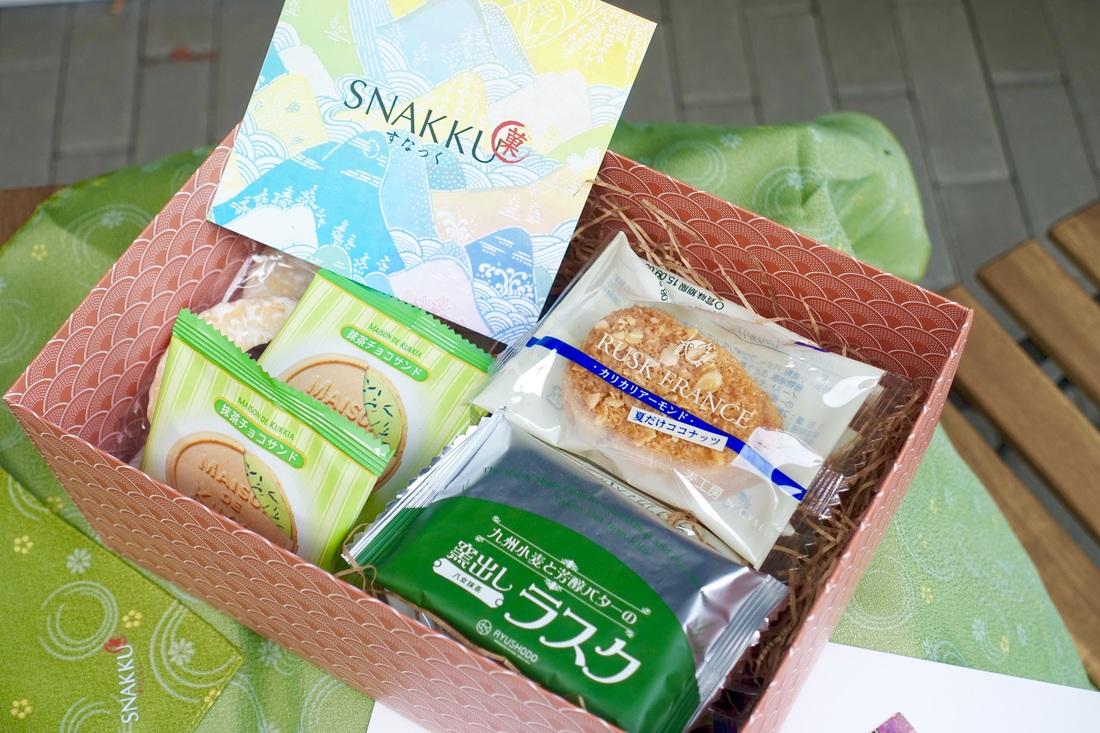
(Read more to get 10% off!) They kindly sent me a sample to try out and so I could share my experience with you. I must say - lots of childhood memories came back to me when opening their box. Good childhood memories of course :) Wrapping I believe that all Japanese products begins its high quality experience at the wrapping/packaging stage. Snakku uses a beautiful Japanese cloth, also called a furoshiki to wrap the Snakku box. This month it was a deep green furoshiki - resusable of course! I plan to wrap my lunches or any other boxes with this in the future. Branding and Messaging Inside the box, I found a pamphlet and flyer of Snakku's. I love how they use Japanese characters (which are truly Japanese, not random characters!) to make the experience authentic, even for a native Japanese person like me. The Snacks This month (August) happened to be the month of rusks! I hadn't had rusks since I left Japan (~7 years ago) so this was a *very* pleasant surprise. Here is the list of snacks which came in my box (taken from Snakku's website):
All of these high quality Japanese snacks were all very tasty - and now you can get 10% off by using "jpinsider" at checkout. Now's your time to give Snakku a try ;)
0 Comments
A quiet, relaxing and detoxifying evening with Japanese matcha, shipped directly from Japan.6/18/2015 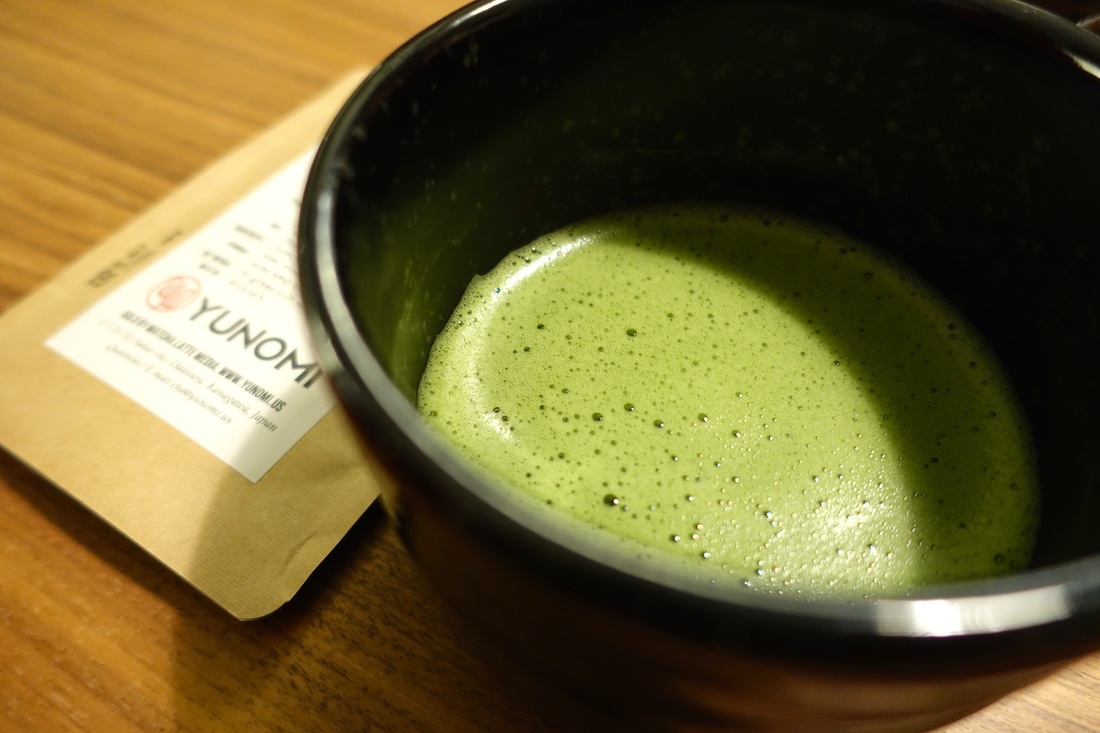
About Matcha
In the recent years, Matcha has become a popular type of tea used for drinking and also for baking by people of all ages and backgrounds. So what is Matcha? How is it different to regular Japanese tea? Matcha is simply tea leaves which are steamed, dried, ground and processed to become tea powder. According to domatcha.com, "it was in the 11th century that the Zen priest Esai initiated the cultivation of tea in Japan. His famous book about tea opens with the sentence: “Tea is the ultimate mental and medical remedy and has the ability to make one’s life more full and complete.” In saying that, Esai was referring to Matcha, later to become Japan’s most treasured kind of green tea and the only tea to be used in the traditional Japanese Tea Ceremony (Sadō)." Not only does it taste good; green tea has great benefits like:
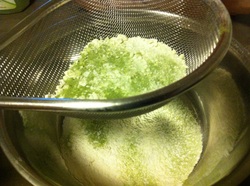
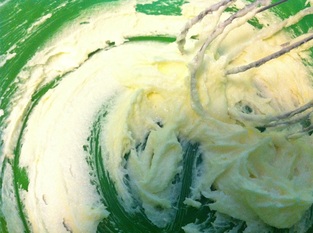
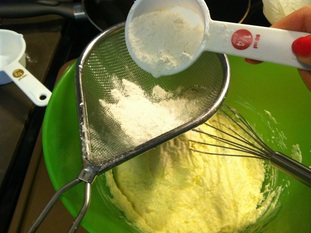
Tea Tasting w/ Yunomi Last week, my friend Charles (my Japanese Tea Mentor) and I had a mini tea tasting session / ceremony. We had the tea which was delivered by yunomi, which is a Japanese Tea online store which delivers high grade tea directly from Japan to countries like the US. Not only do they sell tea - they also sell Japanese sweets to pair with your tea and provide users with information and knowledge about Japanese tea.They sell all kinds of Matcha powder so have your pick! Equipment On our tea tasting day, Charles brought some of his tea equipment for the ultimate Japanese tea experience. For this Matcha tea tasting he used a mini-sift, chasen (the bamboo sift), chashaku (the tea scooper) and tea pot to drink from. The Process and Experience The way he used all the equipment with the tea powder was beautiful. He started off carefully scooping out the matcha powder and sifting it. By sifting the powder, you can get rid of lumps which leads to a better texture. He then poured a little bit of hot water into the pot with the powder and whisked it with the chasen. You may want to check out the video above to see this yourself. After whisking a small amount, he added a little more water and whisked again. He then said that we were then ready to enjoy the tea. We skipped the ceremonial "Sa-do" steps at this time :) The tea was super rich, bitter, but also sweet at the same time. The soothing vegetal smell made me feel comfortable - almost like I was just about to end my yoga session. Charles drinks tea on a regular basis - he said that it gives him a different kind of buzz compared to when he has coffee. I personally have decided to incorporate quiet tea sessions at home for relaxation purposes after this day :) Thank you Charles and Yunomi.us! Matcha Recipes Don't forget to check out these Matcha recipes! Special thanks to: Yunomi.us (Use code "JPINSIDER" to get 20% OFF!) Charles, my Japanese Tea Mentor! 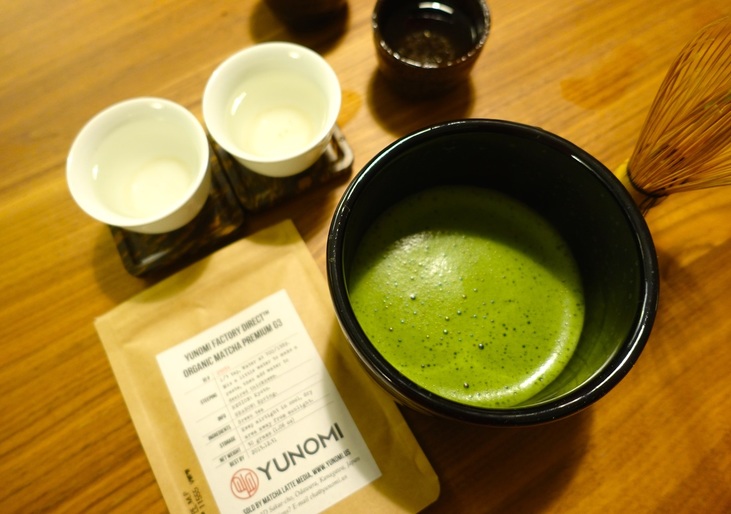
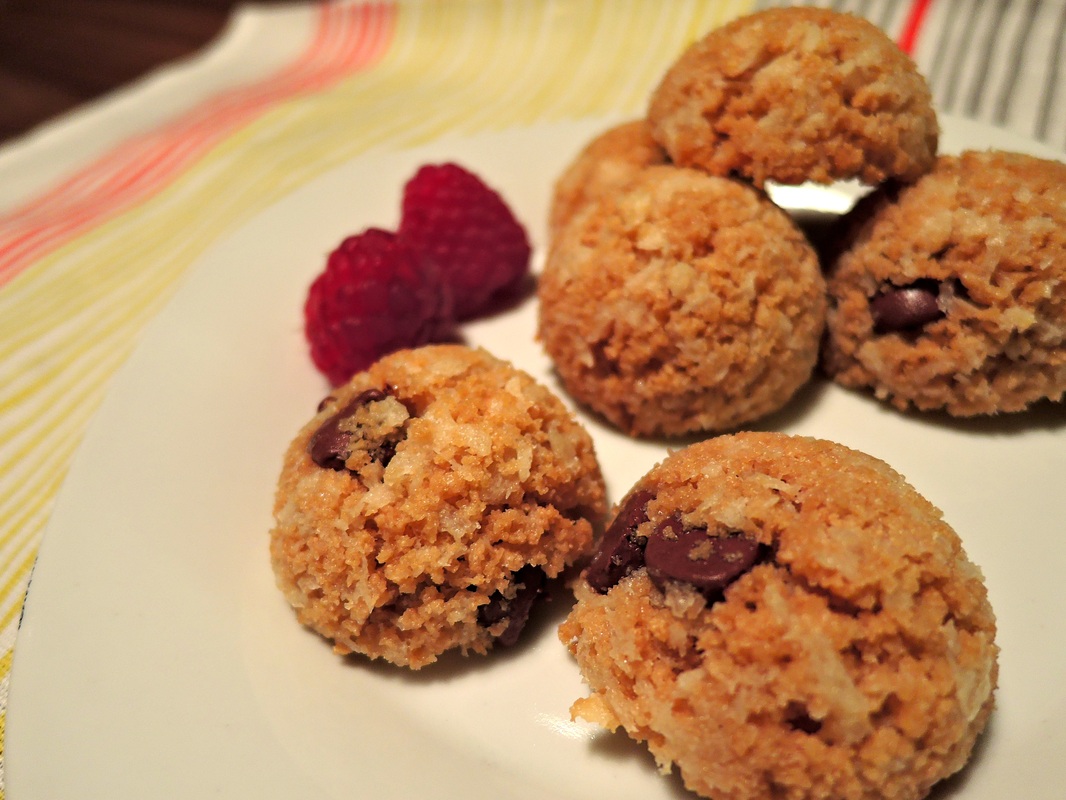 Chocolate chip panko cookies!
I have never thought about using panko for a dessert but this turned out to be super simple to make and delicious! They are such great crunchy sweet cookies. I got great feedback from the people I shared it with at my work :) Since I don't like my desserts too sweet, this recipe might be not sweet enough for you. In that case, just add some more sugar. But hey, why not lessen the sweetness of these cookies and enjoy it with a nice hot sweet drink instead? Here's how you can make it today, using all the panko leftovers. What you need:
Steps:
パン粉でクッキー作れるなんて思いもしなかった!! でもサクッモチッなクッキーになって幸せいっぱい♥︎ 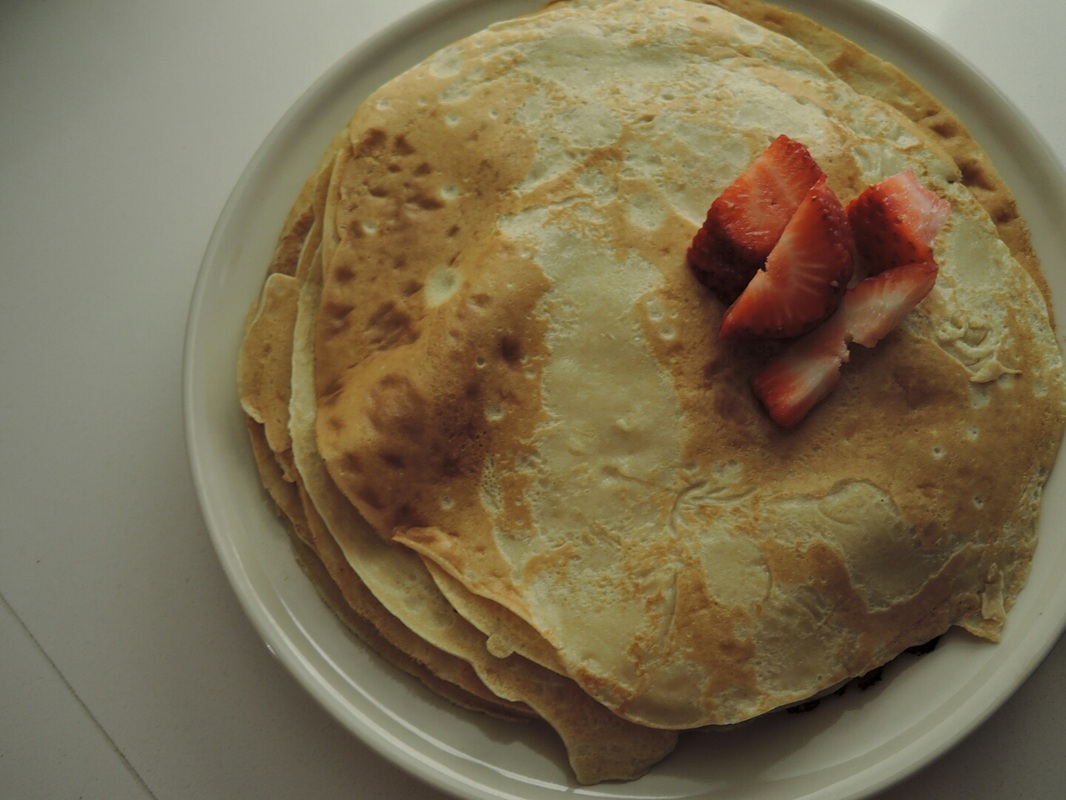
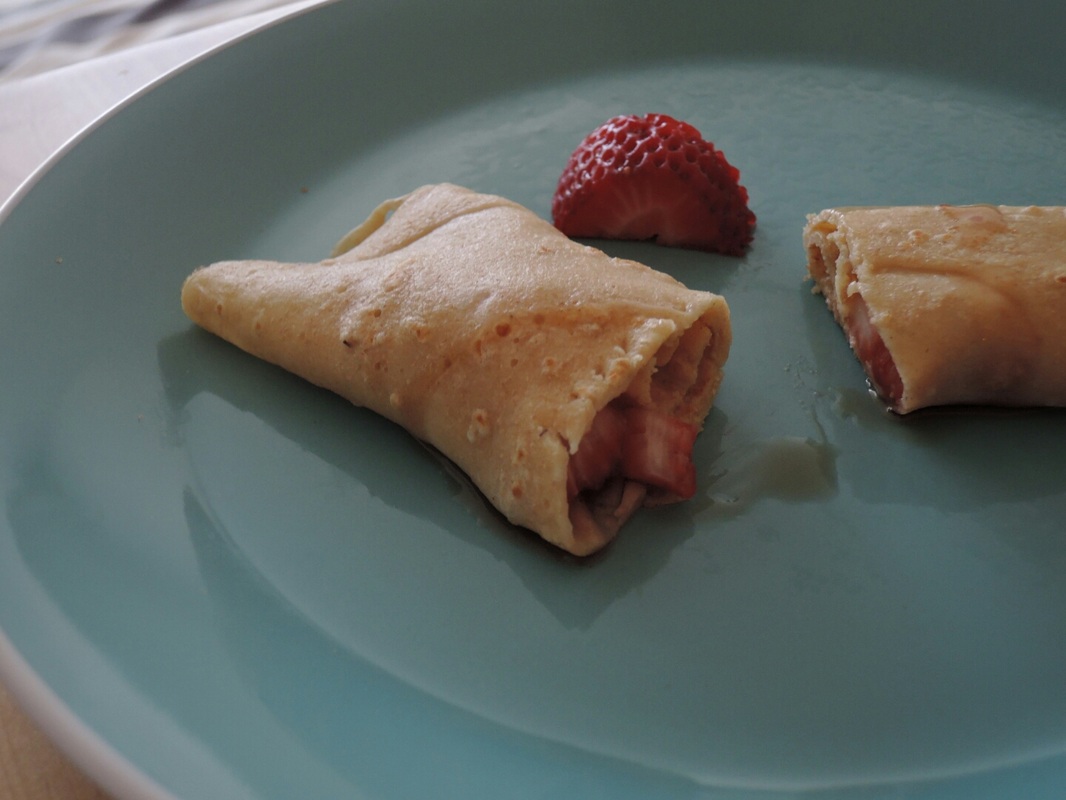
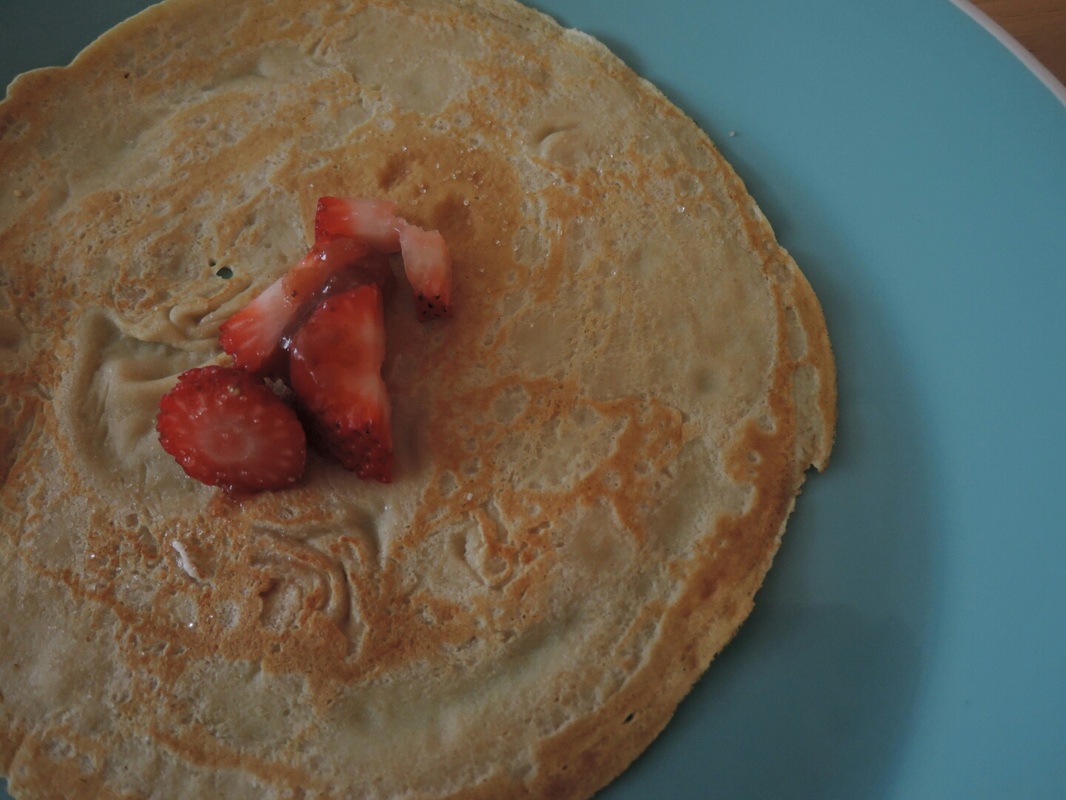
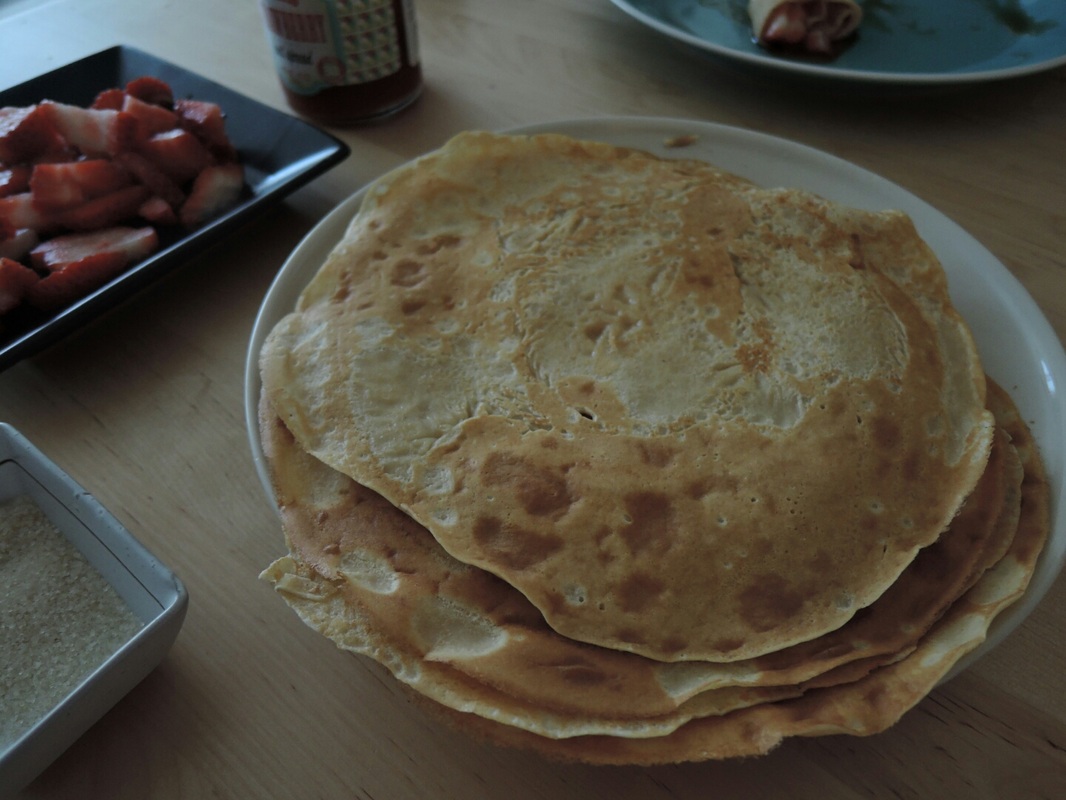
Swedish pancakes! Going to an International school as a kid, I was exposed to lots of foods from all around the world! Our school had an annual Food Fair where parents and faculty would have booths representing their home country; my favourite booth was the Swedish one! They had the delicious Swedish pancakes. Today, I decided to make some myself! The pancakes turned out great. The way I was taught to eat these thin crepe like pancakes were: wrap w/ jam and sprinkle some sugar, roll it up and cut into pieces. Some of my friends loved to put on whipped cream, other fruits, honey or sugar. Today, I cut up some strawberries, sprinkled some cinnamon sugar and used some strawberry jam :) For 10 delicious Swedish pancakes (which is plenty for 2 or 3), you'll need:
For toppings: Fruits, cinnamon, sugar, honey, whipped cream...Anything you like! Steps:
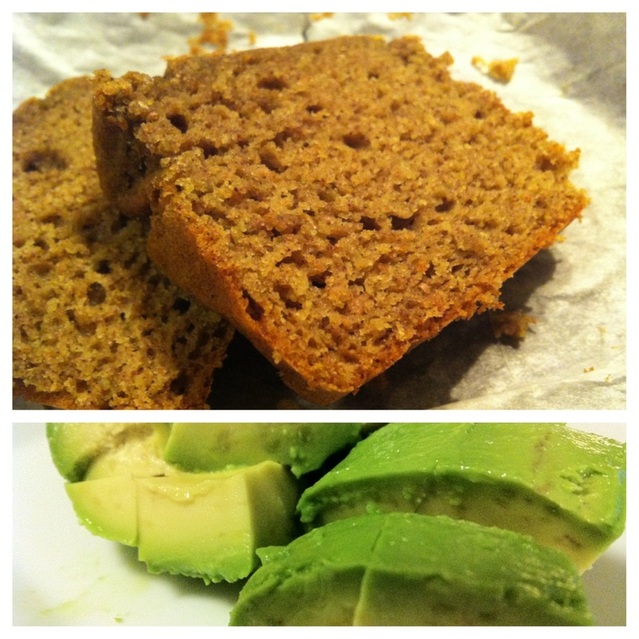
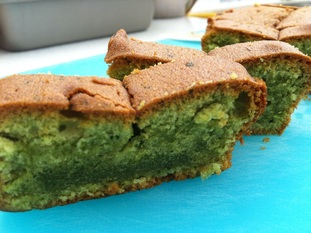
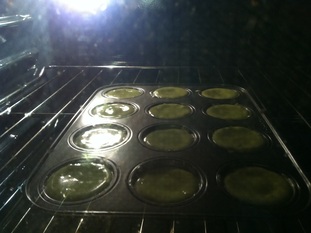
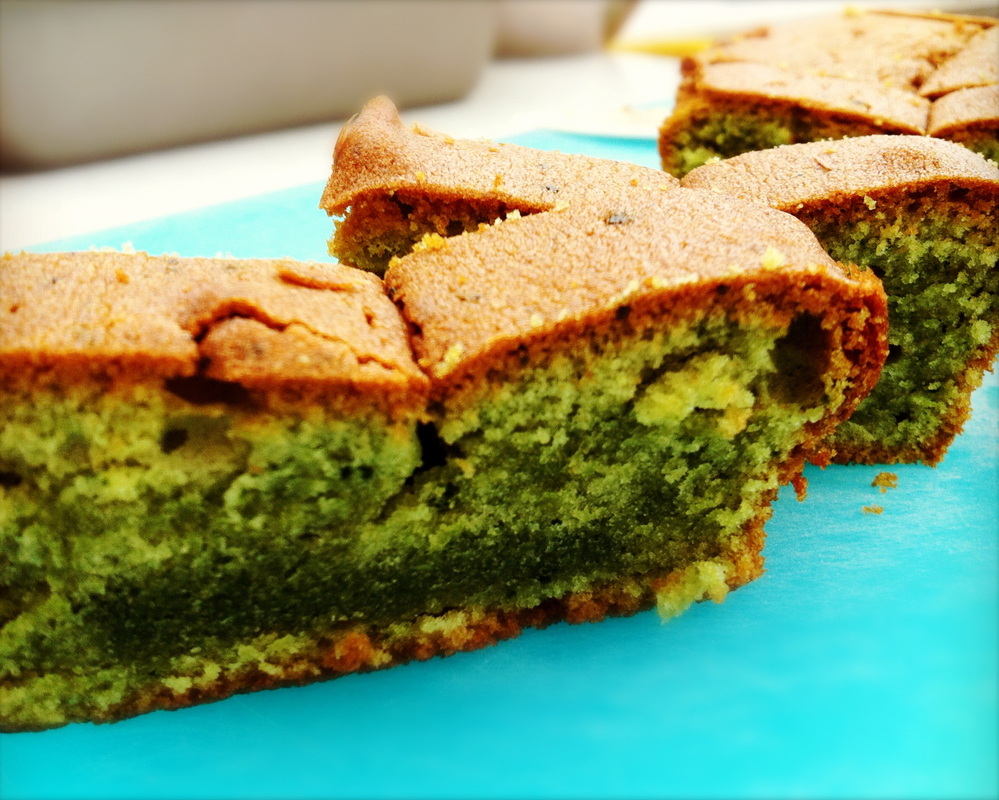
Love avocado? I do.
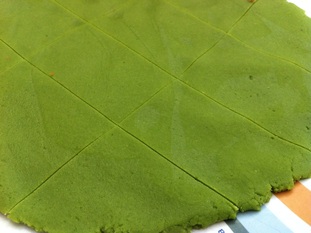
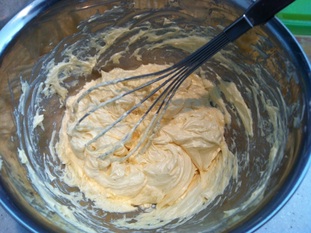
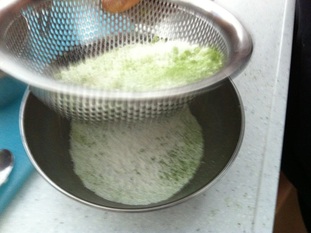
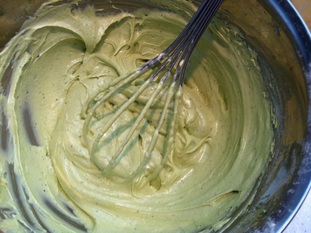
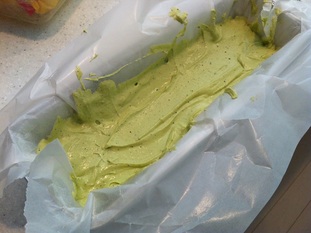
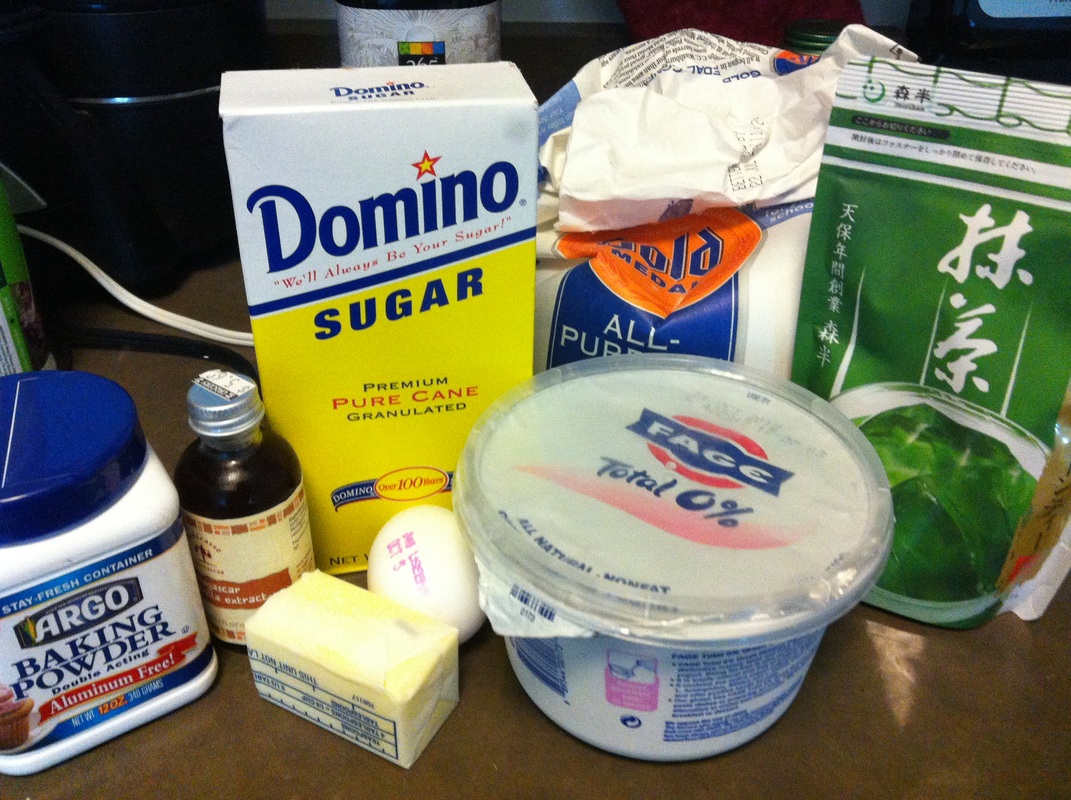
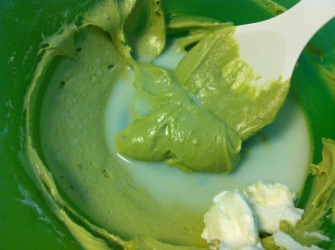
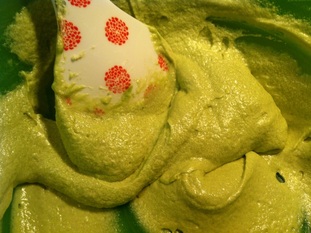
I've been meaning to use up the avocado I got at Whole Foods ASAP. What better way than to use it in a sweet dessert while your city is on lock down? This pound cake uses no butter, no sugar. Instead I used avocado, cinnamon and honey! The pound cake turned out to be super moist, perfectly chewy and the taste emphasized more on the avocado. If you aren't an avocado lover, I suggest you add a little more honey or cinnamon to mask the taste of avocado! Like always, my desserts are not as sweet compared to those desserts often sold in the US, so if you are a sweet tooth, make sure to add more honey. Perfect for breakfast or a snack with some lovely tea or coffee! What You Need: (For 5 inch x 2.5 inch container)
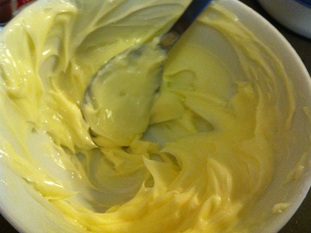
Steps: (Due to the simplicity, I'm going to go with text based steps rather than posting a photo for each step!)
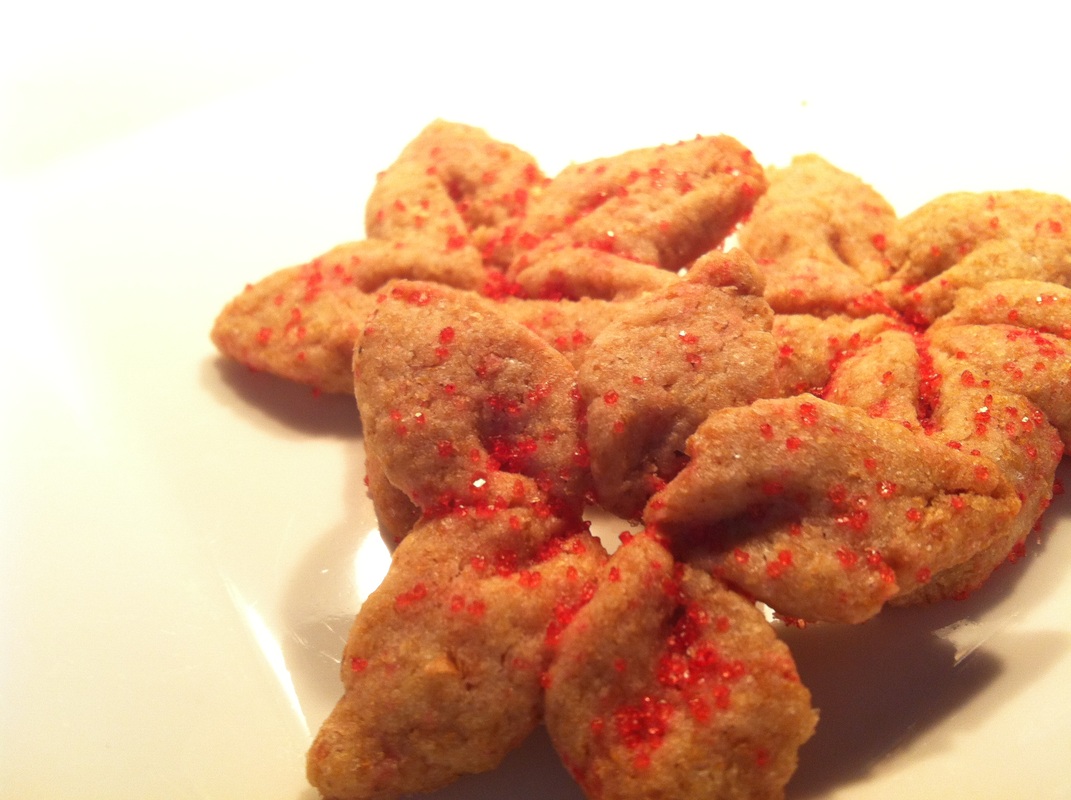
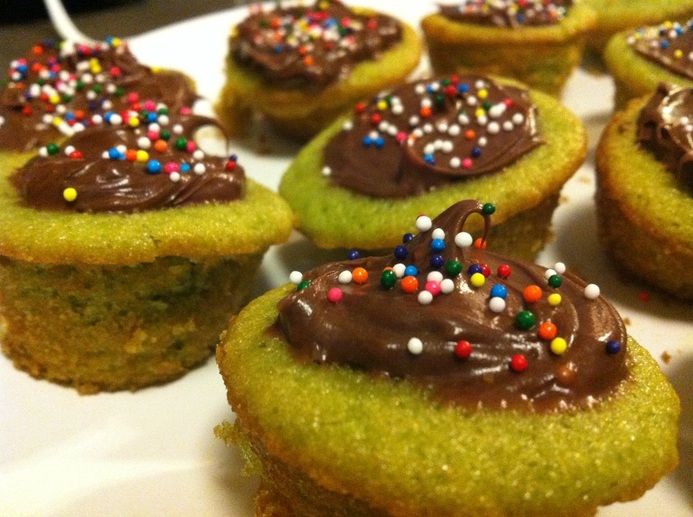
The last 4 years I've been in Boston while obtaining my undergraduate degree, I've been missing out on the beautiful cherry blossoms in Japan. I love the spring in Yokohama, so it saddens me to know that I'm missing out on wonderful weather, temperature, air, scent and colours. To celebrate the full blossoming of the trees in Yokohama, I made sakura shaped cookies using the recipe I posted earlier on.
Note: I used all purpose whole wheat flour instead, did not add matcha powder and added some strawberry jam for the pink. I also lessened the amount of sugar used to ~2 - 2.5 tbsp and it came out great. 
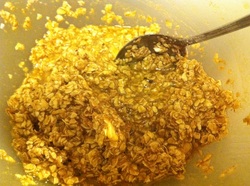
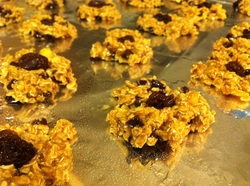
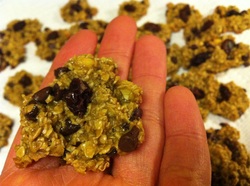
Number of steps: 3 steps Time taken: 10 minutes to prepare, 15 minutes in the oven Approximately 25kcal per cookie (for 30 servings) About This Dish: I know that this is not a Japanese dish but as a female I had to share this extremely satisfying but healthy recipe for oatmeal cookies! This recipe uses absolutely no oil, no butter and barely any sugar, but it's a delicious sweet oatmeal cookie, perfect for my occasional mood swings. I make these cookies tiny, Japanese style, so please don't be surprised that I made 30 cookies with the batter. The size of my cookies are reflected in the photos below. Why do I make them so tiny? Because research suggests that "smaller portion sizes are capable of providing similar feelings of satisfaction as larger ones, while larger portions result in increased food intake, smaller portions may make you feel equally satisfied" (Steakley, Stanford Medicine). What You Need: (Makes 30 bite size cookies)
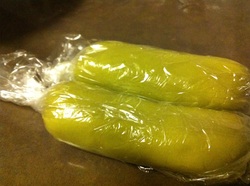
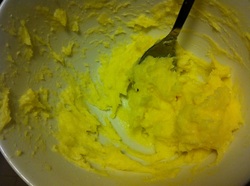
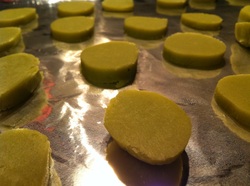
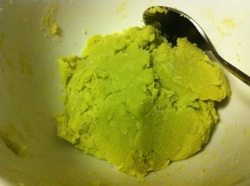
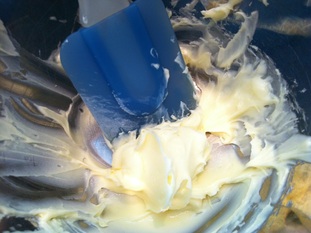
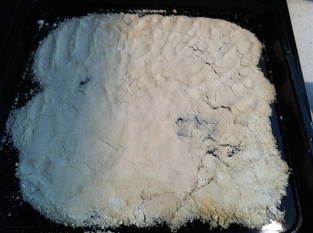
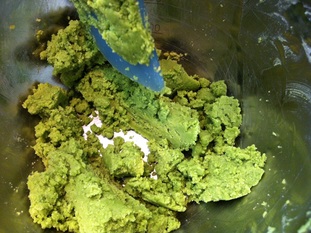
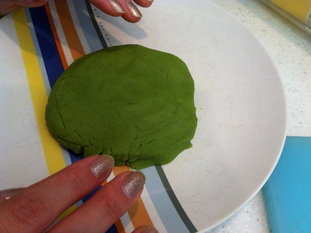
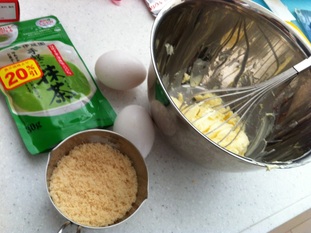
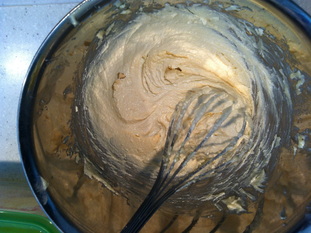
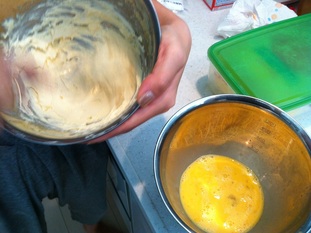
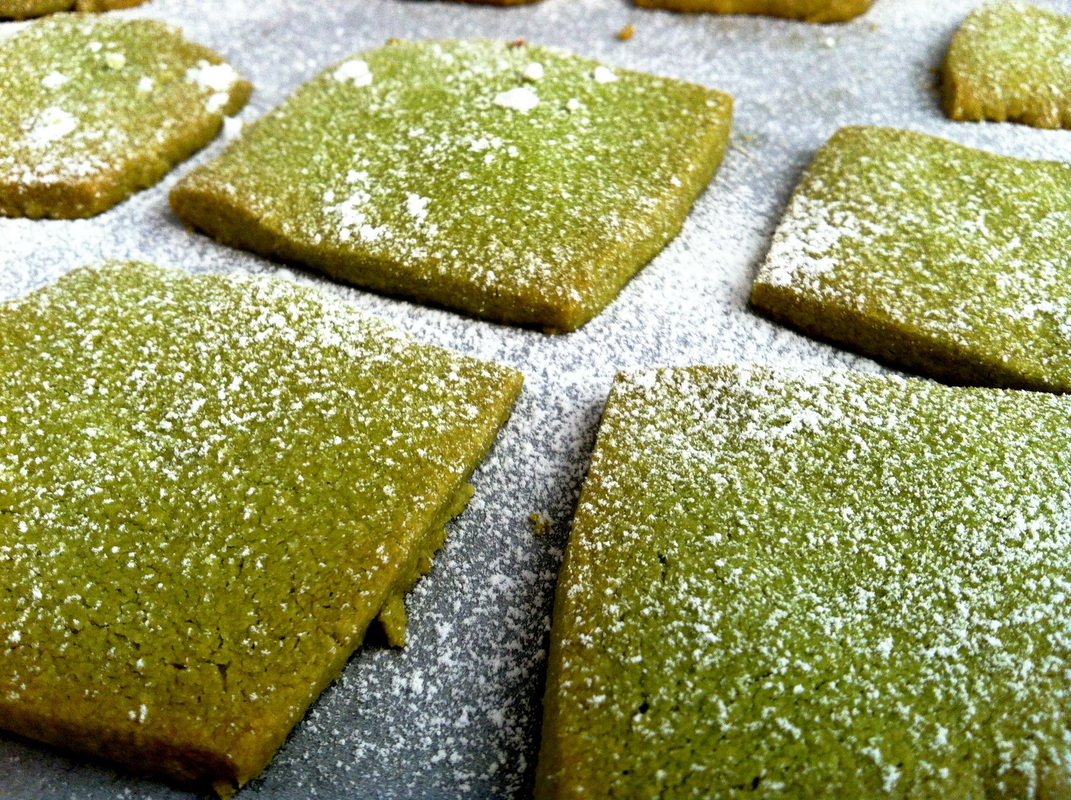
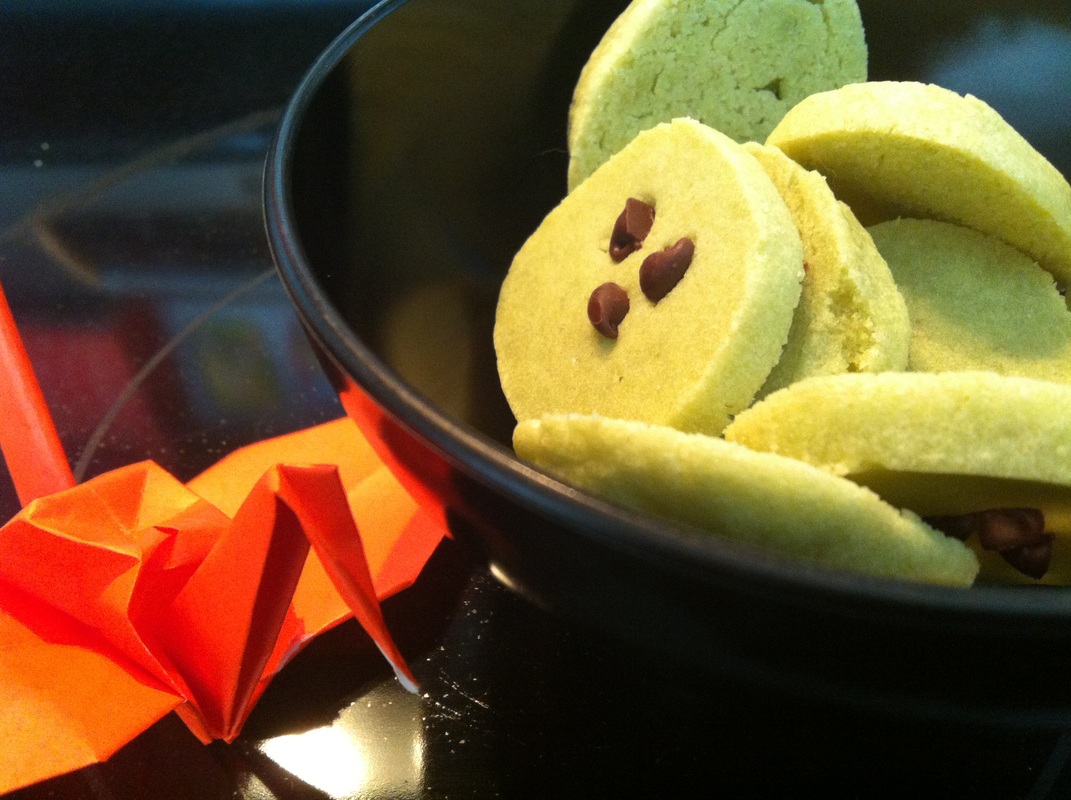 Number of steps: 6 easy steps Time taken: 10 min to prepare, 8 min in oven Approx. 30 kcal per cookie About This Dish: Being a girl, sometimes you just crave for desserts. Unfortunately, I find the cookies and sweets in Boston too sweet compared to those in Japan. Solution? Bake my own! These matcha cookies are not too sweet, but not too bitter; it makes the taste of matcha truly come out. All you need is flour, butter, sugar, matcha powder and an egg yolk. I'm not a professional baker, and I must say these cookies came out perfect. Just make sure to use room temperature butter! Note: The cookies I made are tiny, bite size, miniature cookies. Please cut and bake according to your taste! What You Need: (For approximately 30 mini bite sized cookies)
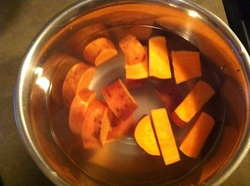
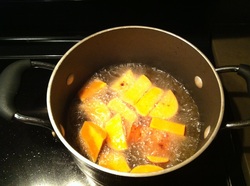
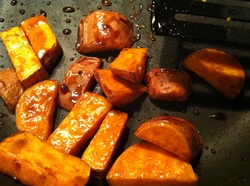
Recipe: "Daigaku-imo", fried sugar coated sweet potatoes! A famous dessert or side dish in Japan.11/20/2012 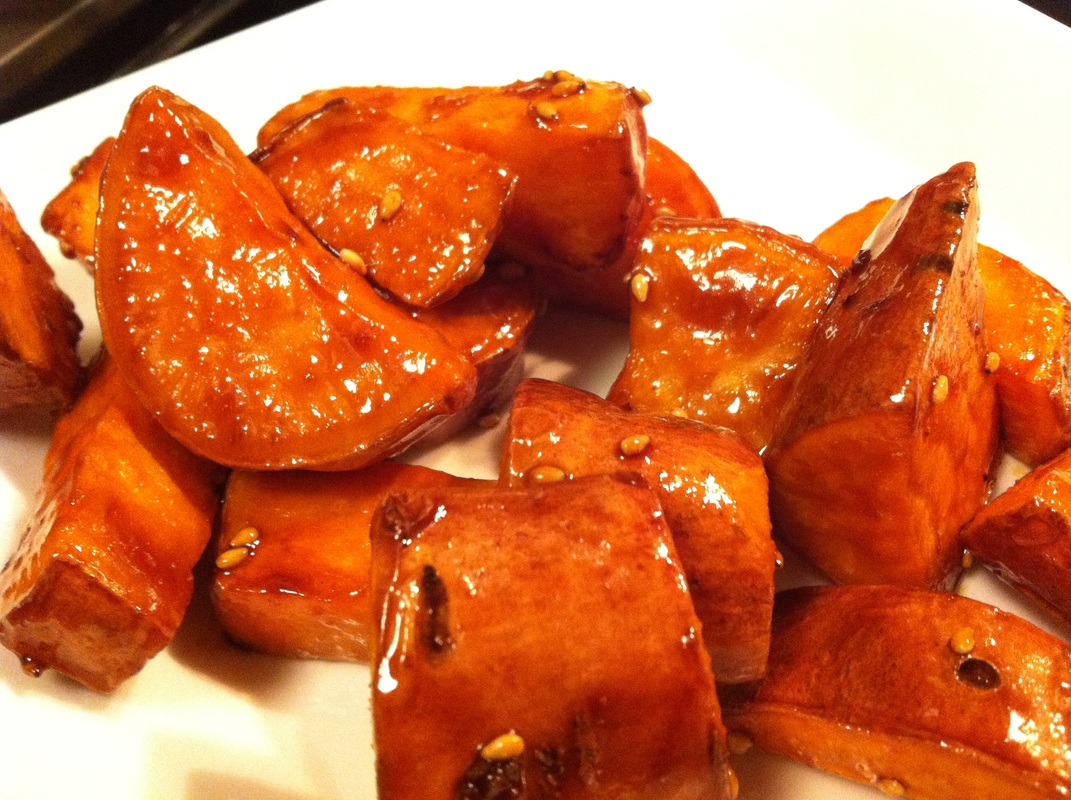
Number of steps: 3 steps Time taken: 10 min Approx. 120 kcal per serving About This Dish: Though I've been attending school for the last 4 years in the United States, I still have no clue on how to celebrate Thanksgiving...We ended up ordering a "Thanksgiving dinner package for 2" at Whole Foods. Delicious, and it lasted us 2 days. With the mountain of sweet potatoes in my fridge, I decided to make this Japanese snack, "Daigaku-imo". Deep fried sweet potato coated with sugar (or honey). Some people eat it as a snack, some eat it as a side dish for dinner. All up to you :) The crunch and the softness which comes after is just something you must try. According to Wikipedia, this dish is called "University-potato" since it was a trending snack near Tokyo University in the Taisho period. What You Need: (2 serving, plenty to share between two)
|
Subscribe via emailFeatured Fyuse:Popular Posts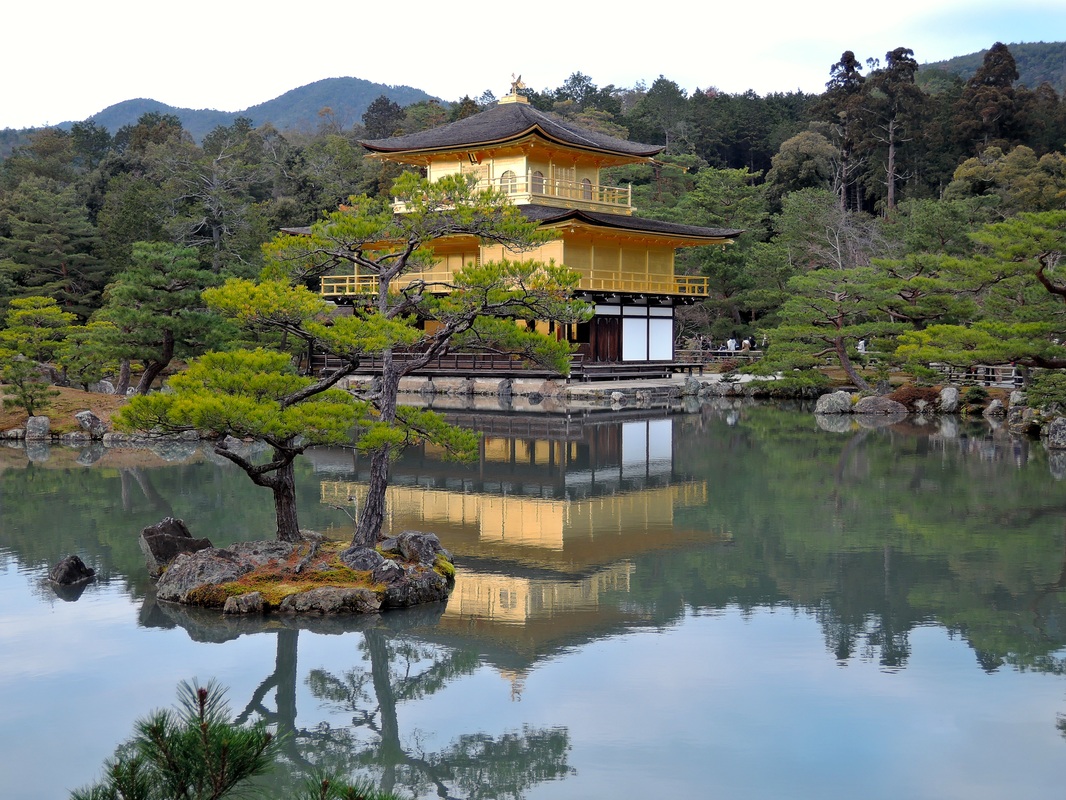
Kinkakuji, Kyoto
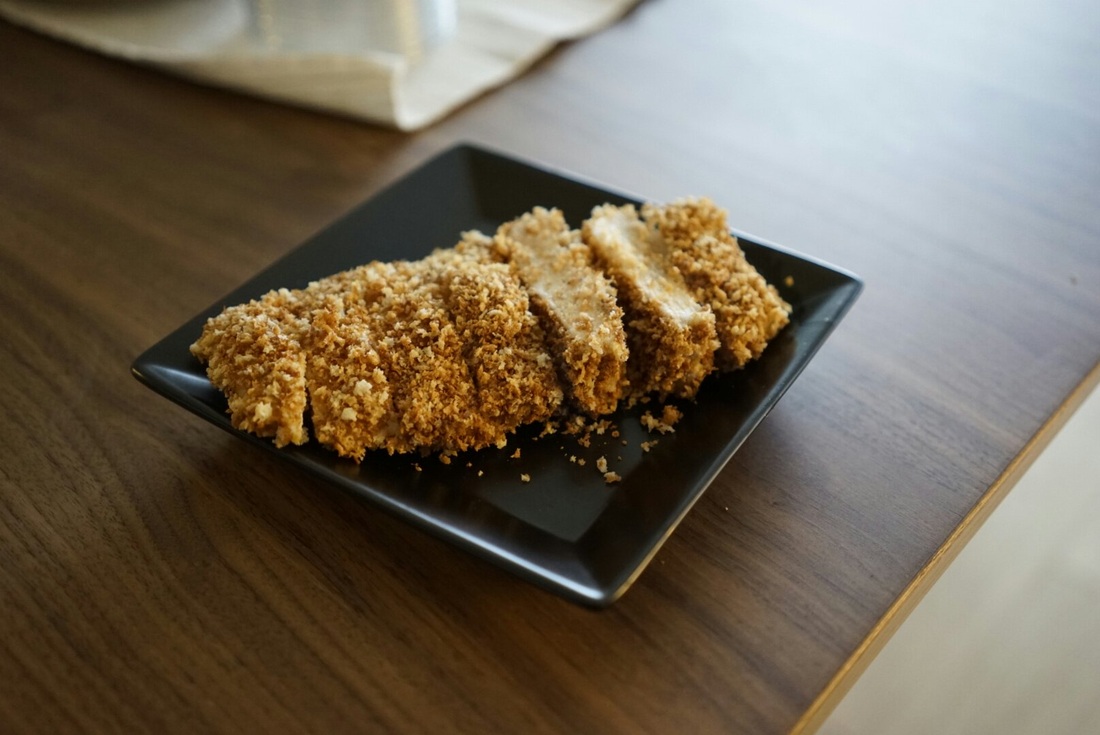
Non-oil Chicken Katsu

Kawaii! Socks
instagram: @jpinsiderCategories
All
|