jpinsider
  • Feed
  • travel & culture
  • Beauty
  • Recipes
    • Shop Japanese Groceries
  • About Me

Super Food! Japanese Hijiki Rice

4/1/2015

0 Comments

 
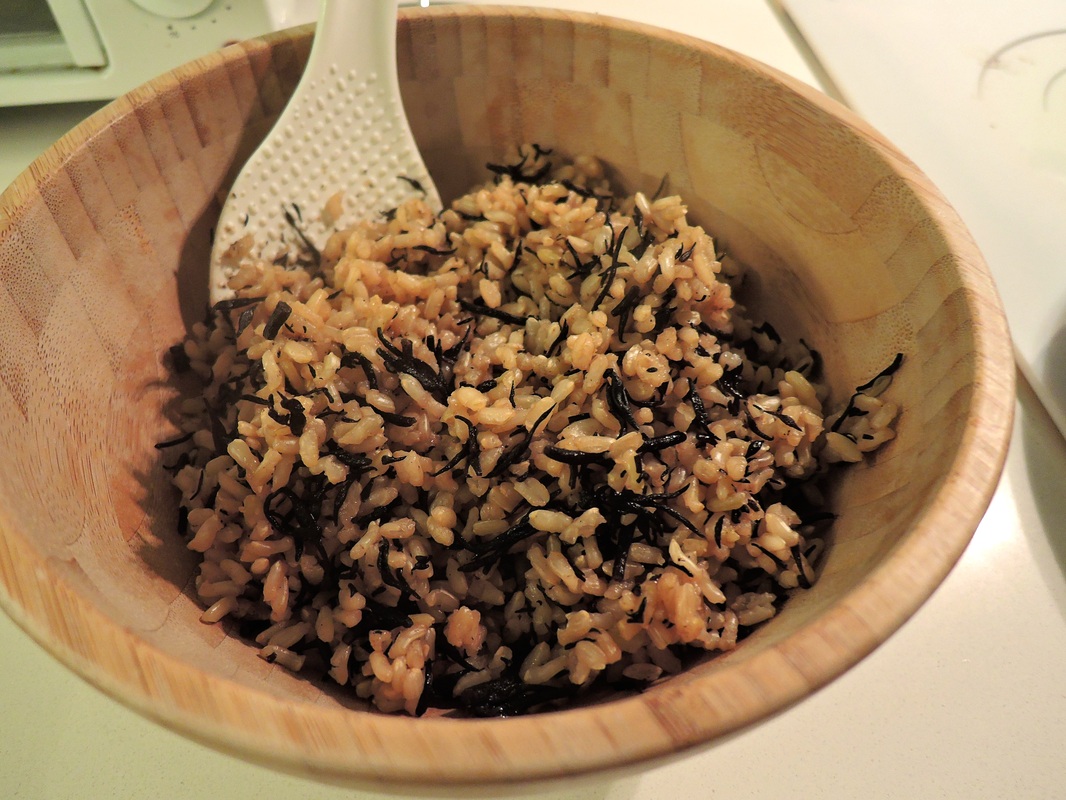
Hijiki! 
Full of iron, fiber, calcium and VItamin A. 
It's a superfood which will help us for a better blood flow, healthier skin and a superb intestine! 
What is it?
It's a brown sea vegetable, much like seaweed but chewy. 

For those of you who have not had a taste of it, and those of you who have, this recipe is a super-easy-must-try. All you do is throw in the following ingredients into your rice cooker. It'll turn into a savoury, warm Japanese rice dish. 

Ingredients
  • Hijiki (2 tbsp dry) You can buy these at Daiso, or at any Japanese supermarket. They come dry, so make sure you soak it in water before throwing it into the rice cooker!
  • 300g dry rice (cook w/ ~400ml water, or follow your rice cooker instructions)


Sauce
  • Japanese soy sauce 1 tbsp
  • Hondashi  (Japanese broth powder) 1 tsp
  • Salt 1 tsp
  • Japanese sake 2 tbsp
  • Japanese mirin 1 tbsp


Steps
  1. Wash the rice (as usual) and place the sauce into the rice
  2. Add the water per rice cooker's instruction (or add around ~400ml if you don't have instructions)
  3. Add the hijiki
  4. Stir a bit, then cook the rice as usual!
Picture
0 Comments

Recipe: Red bell pepper "doria"; A healthy version. Sautéed ketchup rice with ingredients of your choice stuffed in a red bell pepper, topped with a slice of cheese. 

2/25/2013

0 Comments

 
Picture
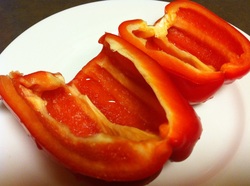
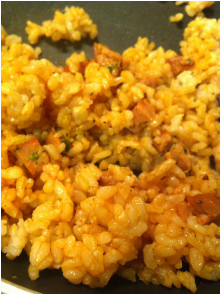
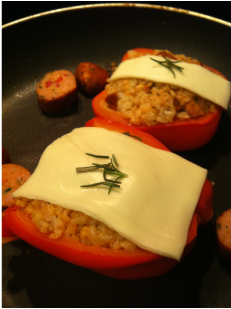
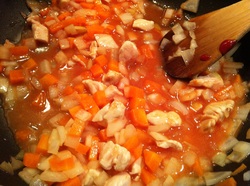
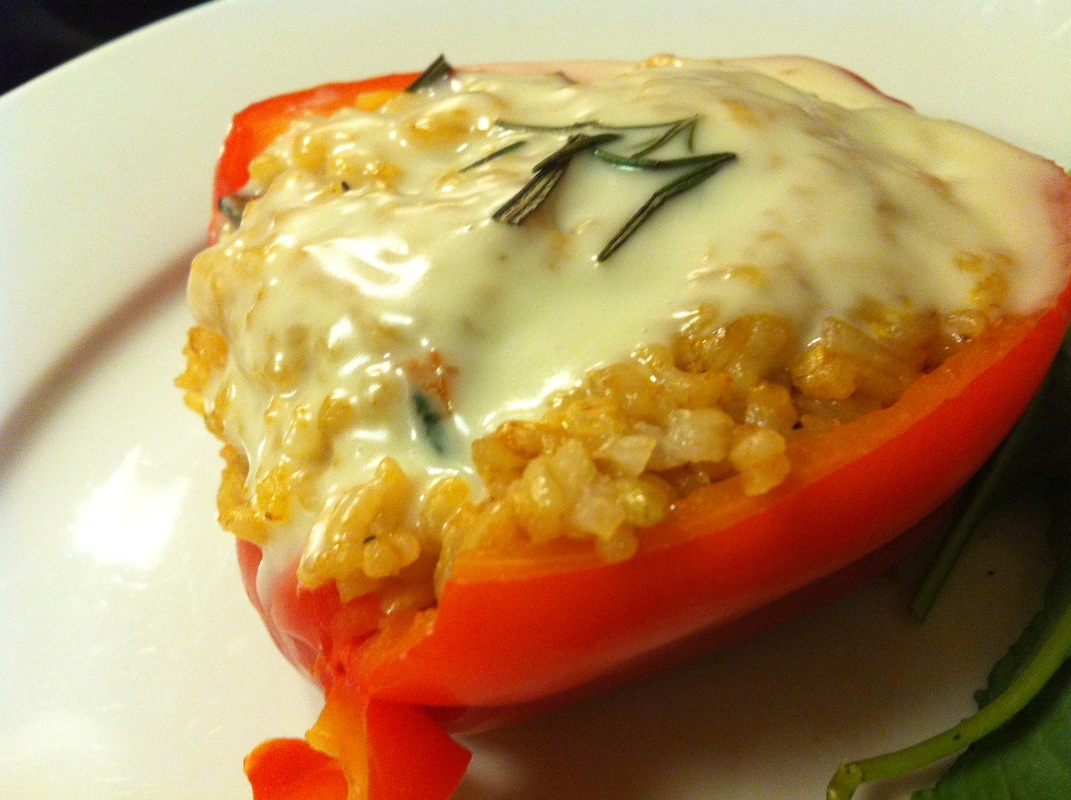
Number of steps:  3 steps
Time taken: 15 minutes
Approximately 230kcal per serving (this will vary depending on what you decide to put in the rice!)

About This Dish:
I did not know "doria" was a Italian dish until today. I had always thought it was a type of French dish since it's so similar to gratin. In Japan, apparently it got popular in the 1920's in Yokohama according to this post. Doria is basically like a gratin but is made of rice, vegetables and meat; often mixed in white cream sauce and topped with melted cheese, cooked in a toaster or oven. This version of doria is a healthy version; no heavy cream, yay! The only doria like characteristic would be the melted cheese. I also use a regular pan, not an oven, so it's easier and quicker to make. 

I added chicken sausage to the rice but I highly recommend adding onion, carrots, ground meat of your choice to make it a little more fun. This dish is cute looking, healthy and tastes great. Perfect for when you have friends over.

What You Need:
(Makes 2 servings)
  • 2/3 - 1 cup rice (I used brown rice)
  • 1 large red bell pepper 
  • 2 tbsp ketchup
  • Pinch of salt and pepper
  • 2 slices of cheese 
  • (Optional) Meat of your choice (I used 1 chicken sausage with red pepper and spinach from Casual Gourmet, otherwise you can add a ground meat of your choice or skip the meat all together!)
  • (Optional) Vegetables of your choice (I highly recommend popping in some chopped onions, carrots)
  • (Optional) Oil to saute your rice (I used 1/2 tbsp of organic coconut oil from Trader Joes)
Picture
1. Rinse the bell pepper, cut in half and put it in the microwave for 3 minutes on power level 6 (if you can select it).

Picture
2. Saute the rice and add meat/vegetables of your choice on MEDIUM to HIGH heat. If you are cooking raw meat, you might want to add the rice after the heat has gone through the other ingredients. Add ketchup, salt and pepper.

Picture
3. Stuff the bell pepper with the rice (I was able to fit around 1/3 cup). Top with sliced cheese and garnish of your choice (I happened to have rosemary). Put the lid on a LOW heated pan and cook for 10 minutes.

0 Comments

Recipe: "Yaki-Onigiris" - Baked Japanese rice balls dipped in a delicious soy sauce mix. 

2/5/2013

5 Comments

 
Picture
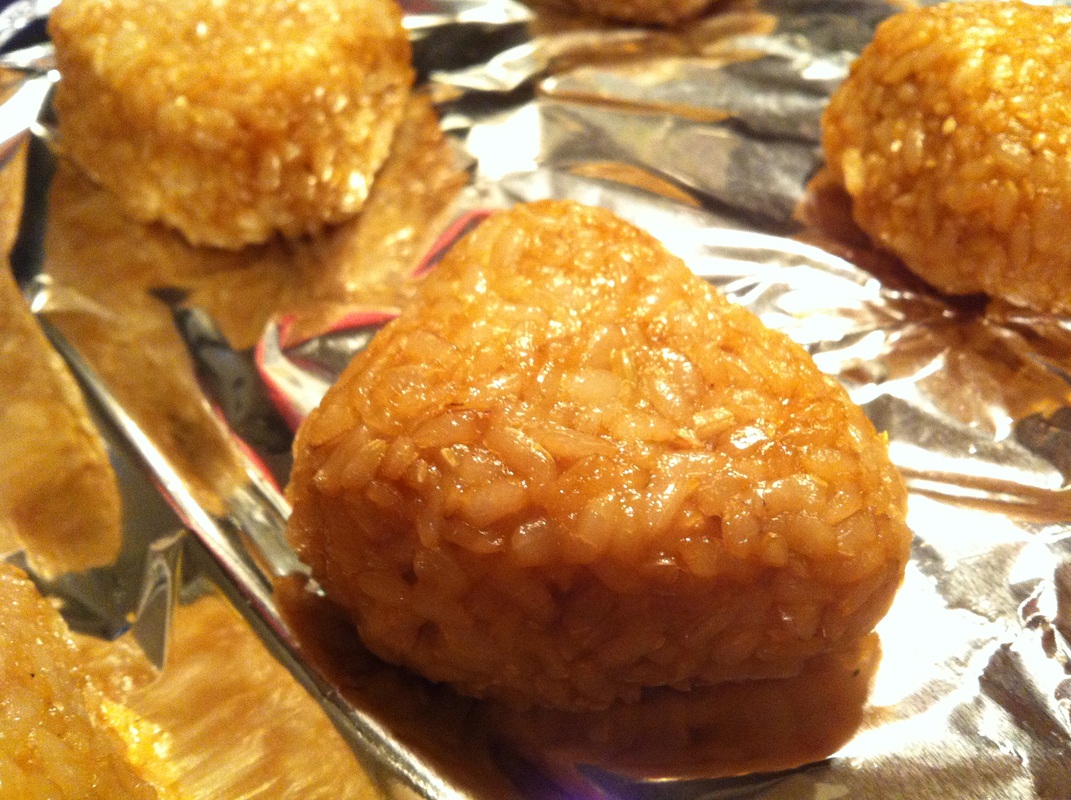
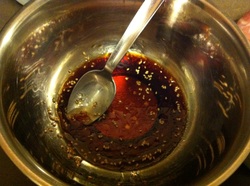
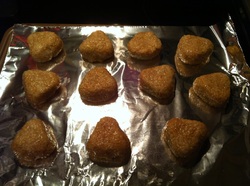
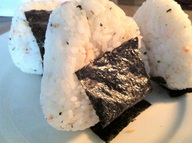
Number of steps:  6 super easy steps
Time taken: 10 min prep, 20 min in oven.
Approx. 90 kcal per mini yaki-onigiri

About This Dish:
Onigiris (rice balls) are delicious even when they are not baked, but when the rice is dipped in soy sauce and are baked on both sides, making the onigiri crispy on the outside and soft on the inside, it's becomes a dish you will start craving for! They're called Yaki-onigiris. In Japan, my mom used to make these for lunch as it is easy and goes well with various side dishes such as chicken. It is also eaten at Izakayas along with some sake and yakitori. It's just a fun twist to your regular onigiri, please give it a try! 


You don't have to use fresh cooked rice. You could even use left over rice in your freezer or fridge to whip this up quickly for lunch! Just make sure you warm the rice up before you dip it into the sauce.

What You Need:
(Makes 11 mini yaki-onigiris)
  • 2 cups of uncooked rice (Around 300g or 3 cups cooked)
The Sauce
  • 1 tsp of Hondashi diluted in water (If you don't have this, don't worry about it, skip it)
  • 2 - 3 tbsp soy sauce
  • 1 - 1.5 tsp mirin
  • 1 - 1.5 tsp sesame oil
  • (Optional) sesame seeds

1. Cook the rice if you haven't done so already. Once the rice is cooked, pre heat the oven to 400F.


4. Using saran wrap, place a however much rice you want per onigiri. I like making mini onigiris so I use around 1/4 cup of cooked rice per onigiri. Wrap up the saran wrap and shape the rice into a triangular form. Photographs on how to do this are here. 
Picture
2. Mix the ingredients for the sauce (soy sauce, dashi, mirin, sesame oil, sesame seeds)

Picture
5. Take it out from the saran wrap and put it on an oven safe pan. Re use the saran wrap to make more onigiris. Once you're done, place it in the oven for 10 minutes each side! 

Picture
3. Mix warm rice into the sauce. Mix well so that the rice soaks up the delicious sauce.

Picture
6. You can re-wrap the cooked onigiris in saran wrap and freeze them up! Re hear using the microwave as needed :) Enjoy!

5 Comments

Recipe: Japanese Omurice! Omelette made with fried rice. Want to impress your significant other? Whip this up for dinner tonight! 

1/10/2013

0 Comments

 
Picture
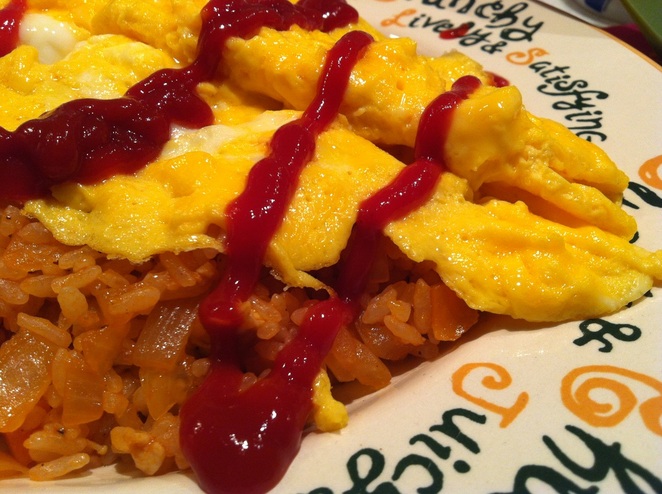
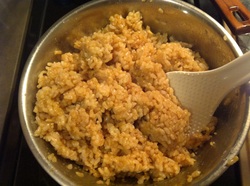
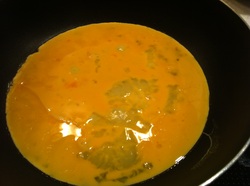
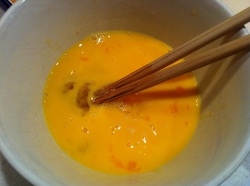
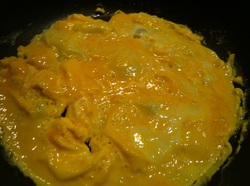
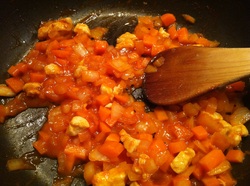
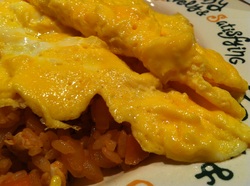
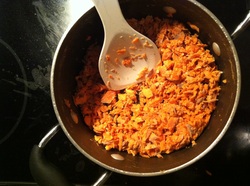
Number of steps:  9 steps
Time taken: 15 - 20 min

About This Dish:
Omurice is essentially a soft and fluffy omelette topped on chicken rice which is usually ketchup flavoured. Some people wrap the chicken rice into the omelette and some top the omelette carefully on top of the bed of rice. This dish is popular as a homemade dish and as a lunch/dinner dish in western restaurants. You could add some more ketchup on top of the dish or pour beef stew on top (a.k.a. Hayashi rice, which I will post in the future). I cannot tell you how great the rice tasted. It tasted as though I had been cooking it for hours or in my crockpot! 

What You Need:
(For 2 dishes)
  • 2 cups of rice (Of course, I used Japanese rice. Usually rice previously in the fridge works best)
  • Mixed vegetables (I used half an onion and some carrots)
  • 50g of chicken (around 2oz)
  • 1-1.5 tbsp of butter
  • 2 tsp soup stock powder/cube
  • 100ml water (0.4 cups)
  • 2 tbsp ketchup (Adjust as needed, I ended up putting a little more than this)
  • 1 tsp sugar
  • Pinch of salt and pepper
  • Oil
  • 4 eggs (2 eggs per person shall do!)
  • Optional: Couple tsp of milk
Picture
1. Cut the veggies and chicken into small pieces like the photo. Heat up a pan, place the butter, then throw in the veggies and chicken. Cook until the onion becomes fairly clear.


Picture
4. Add the rice and season with salt and pepper as you wish! I personally would recommend adding warm rice to the mixture.


Picture
7. Once you make sure the pan is hot hot HOT, pour in the egg. I put my heat up to HIGH here.

Picture
2. Add the soup stock, water, ketchup and sugar to the mixture and as you continue to stir, cook it on MEDIUM heat. Make sure to keep mixing to avoid any burns! 


Picture
5. In a bowl, crack open 2 eggs and add a tsp of milk and mix roughly. Don't over mix.


Picture
8. Mix the egg 3-5 times in a circle using a utensil and remove from heat.

Picture
3. Cook the mixture until most of the water evaporates. This is very important. We don't want the rice to be soggy.


Picture
6. Heat up a different pan with 1-2 tbsp of oil. I know this could sound like a lot of oil, but it helps make the egg fluffy.


Picture
9. Top the egg carefully on top of the bed of rice and add your favourite sauce on top. I would just go with ketchup on lazy nights. 


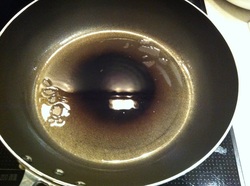
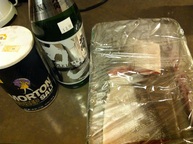
Note: If you want to wrap your chicken rice with the egg, simply put the bed 
of rice on top of the egg at step 7. Place on the edge so you can roll the egg up like an omelette!
0 Comments

Recipe: Super simple to make Japanese style beef donburi (rice bowl) while weathering out Sandy. 

10/29/2012

0 Comments

 
Picture
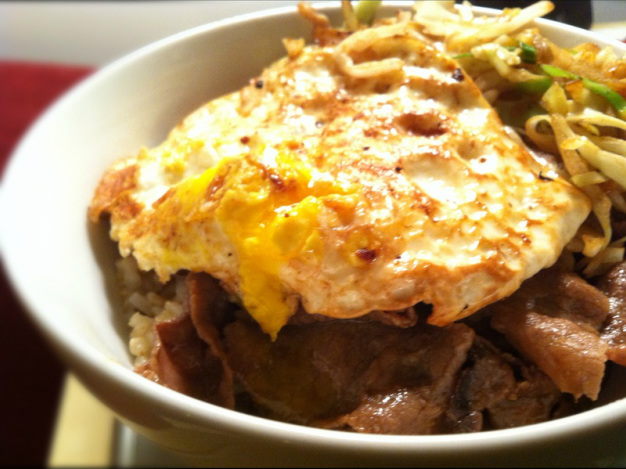
This donburi (rice bowl) was so easy to make I'm not even going to post step by step pictures! I have a bunch of frozen rice in my freezer so I used that which makes the process even quicker! 

Number of steps:  4
Time taken: Approx. 5 - 10 min

What You Need:
(Makes 1 bowl)
  • 100g of thin sliced meat (I used beef, just put in as much meat as you like)
  • Bowl of rice (I used brown rice)
  • 1 egg
  • Vegetables (I only used cabbage)
  • (sauce) 2 tbsp soy sauce 
  • (sauce) 1 tbsp sake or mirin
  • (sauce) 1 tbsp sugar
  • (optional for the sauce) shredded garlic, shredded onion, sesame oil


Steps:
  1. Cook or heat up the rice and put it in a bowl you will be eating from.
  2. Heat up a pan on MEDIUM HIGH and place a table spoon of oil. Once the pan and oil is heated, throw in the slices of meat and cook until the colour changes. Then, add the ingredients of the sauce.  Adjust the amount of sauce according to your taste. Mix until the sauce reaches throughout and put it all on top of the rice.
  3. Now, using the same pan, fry the egg! Place oil on the pan again, drop the egg, drop a couple of droplets of water onto the egg and put a lid on the pan. Flip the egg once it is fried enough and cook it for 1 minute or so. Place it on top of the meat! 
  4. Using the same pan, fry the vegetables! You can even steam your veggies if you are looking for a healthier option. 


0 Comments

Recipe: Simple yet irresistible salmon onigiri! Japanese rice balls are healthy, filling and a great way to start your day. 

10/14/2012

3 Comments

 
Picture
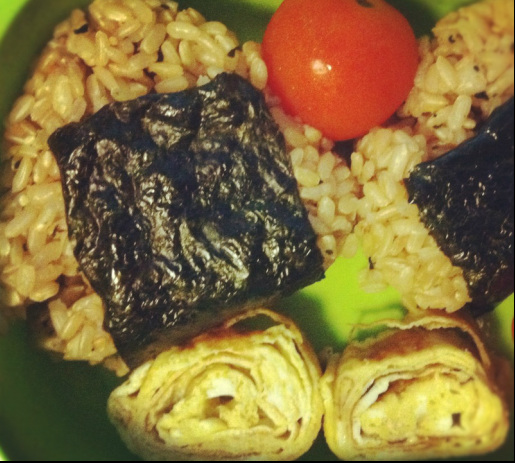
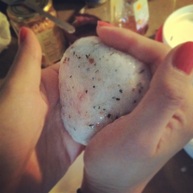
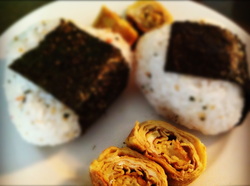
Number of steps:  5
Time taken: Less than 10 minutes
Aprrox. 70-140 kcal per onigiri depending on how large you make it.

About This Dish:
History
Japanese rice balls which are called "onigiris" has been and still is a very popular staple food. Every convenience store has them for $1-$1.50 each while there are more premium onigiri stores which sell it for more than $4 per onigiri. The history of onigiri goes back to the Yayoi period (300BC-300AD)! It became a staple food after the war where a majority of the Japanese population started to eat it as a meal though it was only eaten by warriors before. 

Importance
There are so many ways of making onigiris. Extreme people treat it as a piece of art (for example, caring about the way the rice is cooked, which salt to use and to how the rice it touched) but this recipe is for people who eat onigiris casually. The most important thing to remember when making any type of onigiri is to put love and warmth into it when placing the rice into your hands. Onigiri is a comfort food in Japan; it has a sentimental and nostalgic element to it, even reminding many of their mothers or grandmothers. 

What You Need:
(for 4-5 medium sized onigiris)
  • 3 cups of cooked rice (I like using brown rice, but any rice is fine!)
  • A couple tea spoons of salmon flakes (you can buy them at a Japanese supermarket or easily make it yourself using this recipe)
  • Couple sheets of dry seaweed
  • Salt
  • (Optional) Sesame 

Related recipes: Japanese tamagoyaki (sweet omelettes), salmon flakes
Picture
1. Once your rice is cooked, mix in a little bit of salt! We don't want the rice to be too salty, but keep tasting to reach your preference. I've added sesame seeds and little pieces of seaweed into my rice above.

Picture


4. This is where the love comes in. Start shaping up the onigiri by simply cupping it into your hands. A triangular shape is traditional, but be creative if you like :)

Picture
2. Get a piece of plastic wrap and place a scoop of rice onto it. Flatten it out and create a little concave in the center for the salmon flakes!


Picture
5. Wrap it up with some seaweed and you are done! Put it in the freezer as it is (in the plastic wrap) to keep it delicious and fresh if you are making this ahead of time. Simply microwave the onigiri as is when you are ready to eat it.

Picture
3. Enclose the salmon flakes by holding the sides of the plastic wrap. Twist and close up the plastic.


Picture
Recommended: Eat it with a side of Japanese egg omelettes! The recipe is here!

3 Comments

Recipe: Salmon flakes used for Japanese rice balls. Yes, you can make it yourself and it's VERY easy & affordable.

10/14/2012

2 Comments

 
Picture
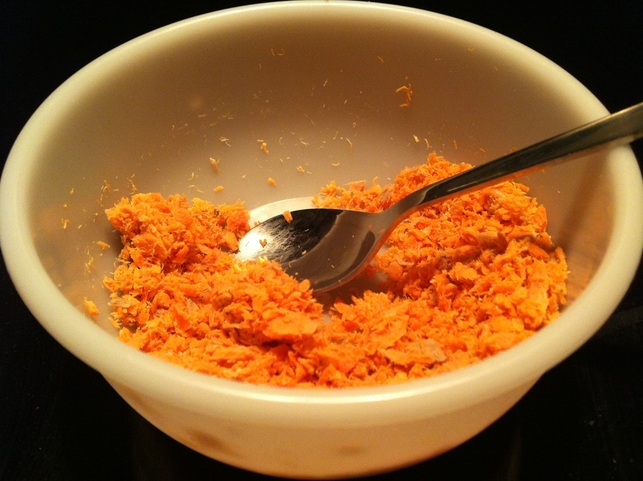
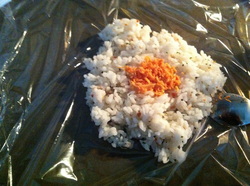
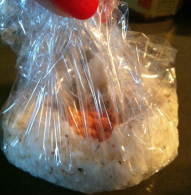
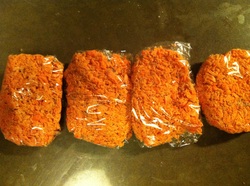
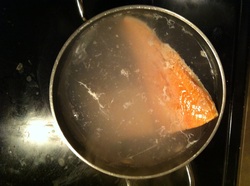
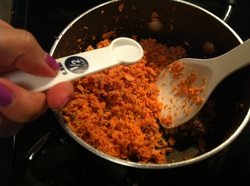
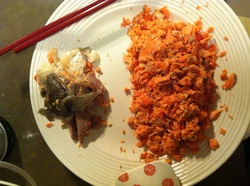
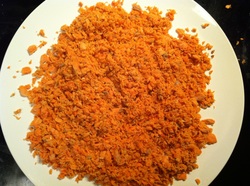
Number of steps: 6
Time taken: 30 min

About This Dish:
You love Japanese rice balls (a.k.a. Onigiri) but are tired of going to a Japanese supermarket to buy the delicious salmon flakes...That was my problem. Thankfully, those salmon flakes in the rice balls are super easy to make! You can store them up for up to 2 weeks in the fridge and longer if you freeze them up! Perfect! 

What You Need:
  • A little more than 0.5lb of salmon! (I used the frozen salmon sold at Trader Joes)
  • Sake (Japanese rice wine) 1 tbsp
  • Salt 1/2 - 1 tsp
  • (Optional) Roasted sesame 1 tbsp
Picture
1. Here's what you need at a glance. I didn't use the sesame seeds. Make sure your salmon is defrosted if previously frozen.


Picture
4. Put the rest of the meat into a pan and start broiling it on low heat. Put it on heat for a couple of minutes to get rid of excess moisture.


Picture
7. Once the flakes are completely cooled down, you can wrap them up in plastic wrap and freeze them for long term storage. I usually freeze some and put the rest in a tupperware for the fridge. It'll last 2 weeks if you put them in the fridge!

Picture
2. Boil the salmon for 5 minutes until cooked.You can also grill it until cooked. Boiling is recommended as it is quick, clean and easy! 


Picture
5. Add the sake. Once the sake soaks into the meat add the salt. Taste it as you go. If you want more salt, add more. It all depends on your preference. Broil it on low heat until you get rid of the excess moisture.

Picture
3. Separate the skin and the meat of the salmon while breaking it up into small pieces. We only want the nice pink colored meat of the salmon! Throw out the skin and discolored meat.

Picture
6. Spread it out on a plate until it cools down and excess moisture is taken away even more. We want the meat to be as dry as possible.

2 Comments

    Subscribe via email

    ​Featured Fyuse:

    Popular Posts

    Picture
    Kinkakuji, Kyoto
    Picture
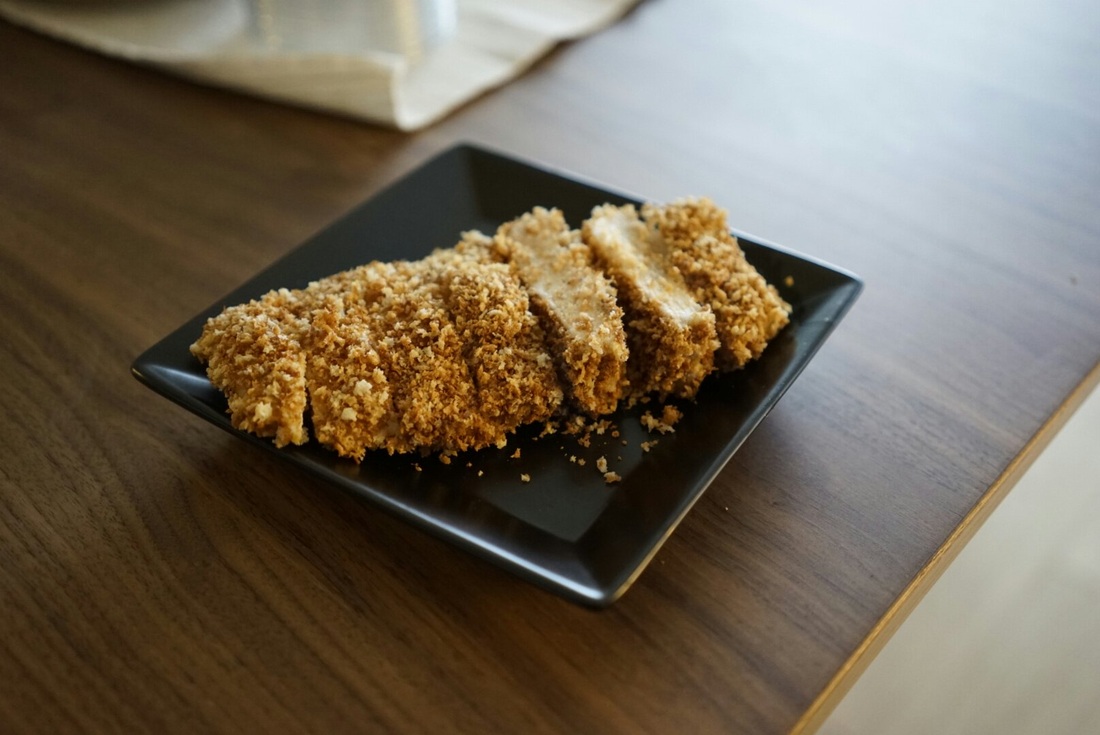
    Non-oil Chicken Katsu
    Picture
    Kawaii! Socks

    instagram: @jpinsider

    Categories

    All
    About Japan
    Appetizer
    Beef
    Chicken
    Dessert/sweets
    Dinner
    DIY
    Egg
    Japanese Breakfast
    Japanese Food
    Japanese Music
    Japanese Quality Series
    Japanese Recipes
    Lunch
    Matcha/green Tea
    Noodles
    Obento
    Pasta
    Pork
    Potato
    Rice
    Salmon
    San Francisco
    Sauce
    Savoury
    Seafood
    Side Dishes
    Tips/how To
    Tofu
    Traveling Japan
    Tuna
    Turkey
    Vegetables
    When In Tokyo
    Yokohama

Powered by Create your own unique website with customizable templates.
  • Feed
  • travel & culture
  • Beauty
  • Recipes
    • Shop Japanese Groceries
  • About Me